Let me start off by saying that I’ve never built anything like this before. I’ve made detailed Halloween costumes before but nothing with cast resin and armor pieces. I’ve also never worked on something that requires screen-detail accuracy for it to be considered “correct” or “complete”. All in all, this is going to be an adventure for sure.
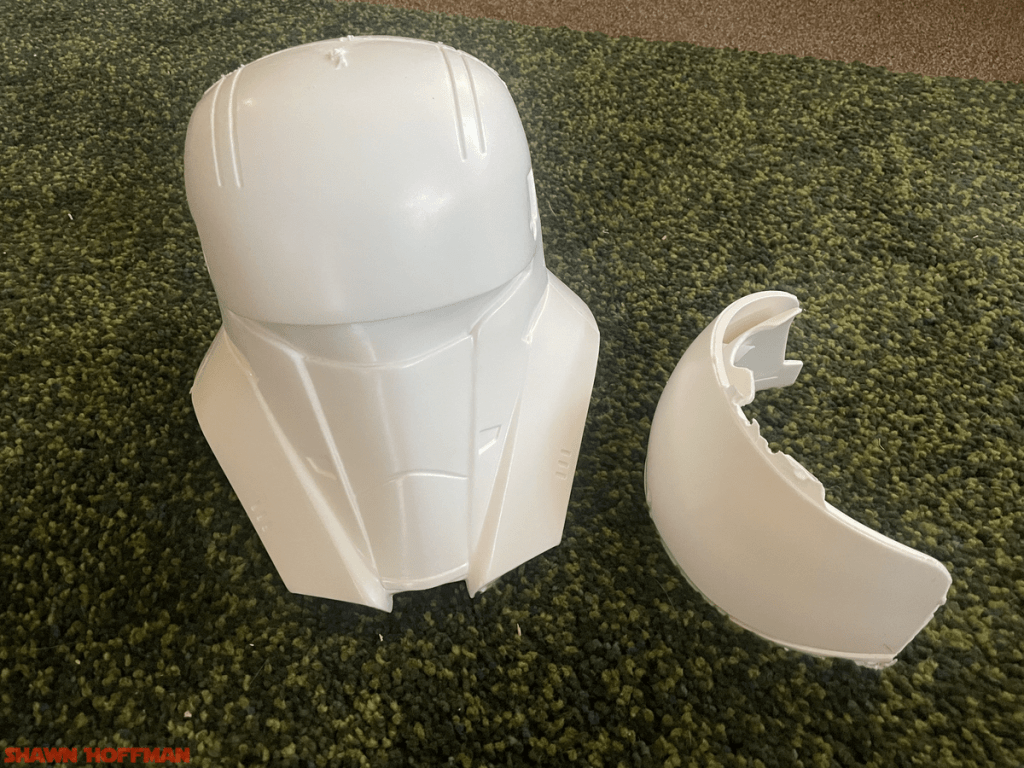
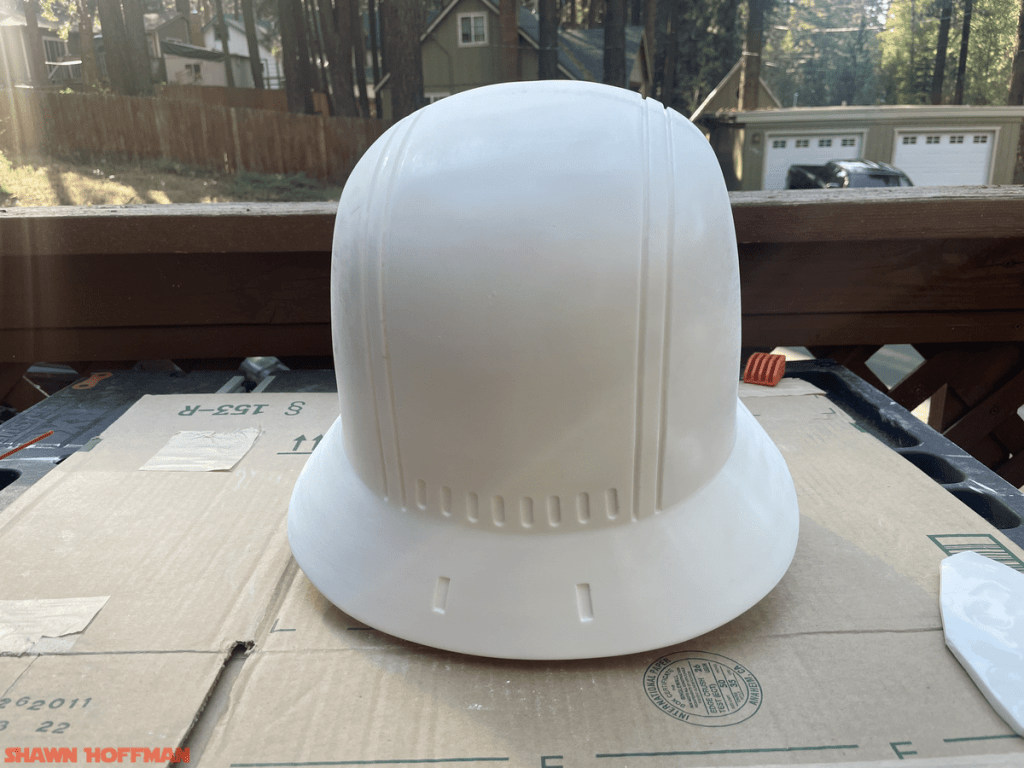
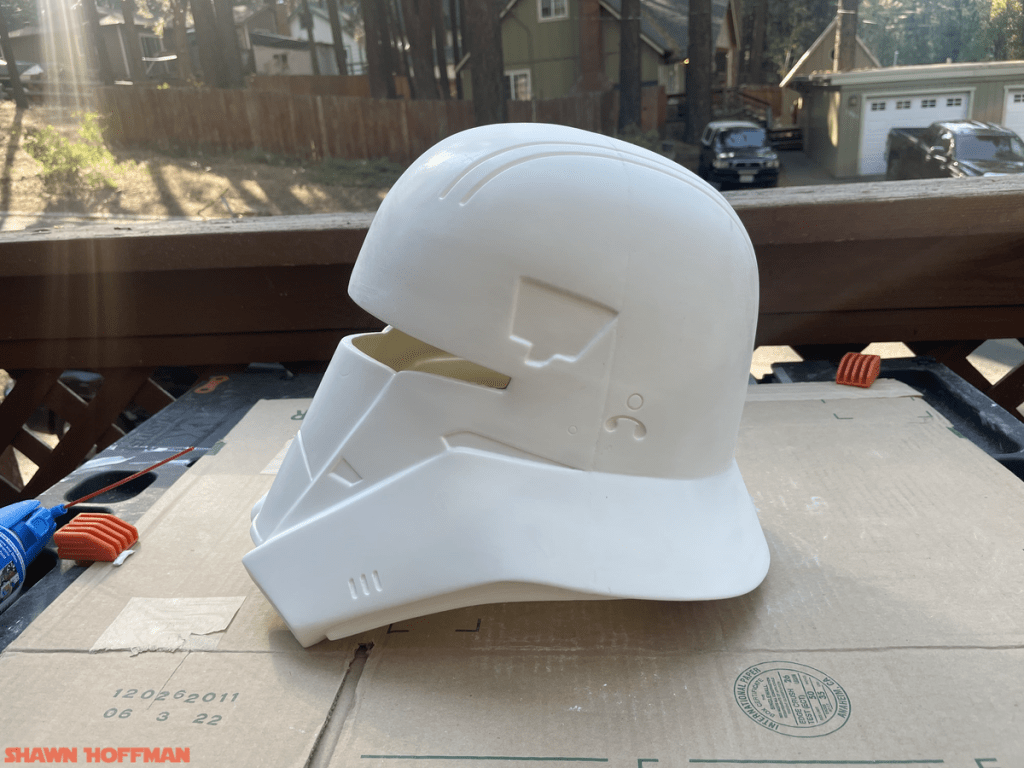
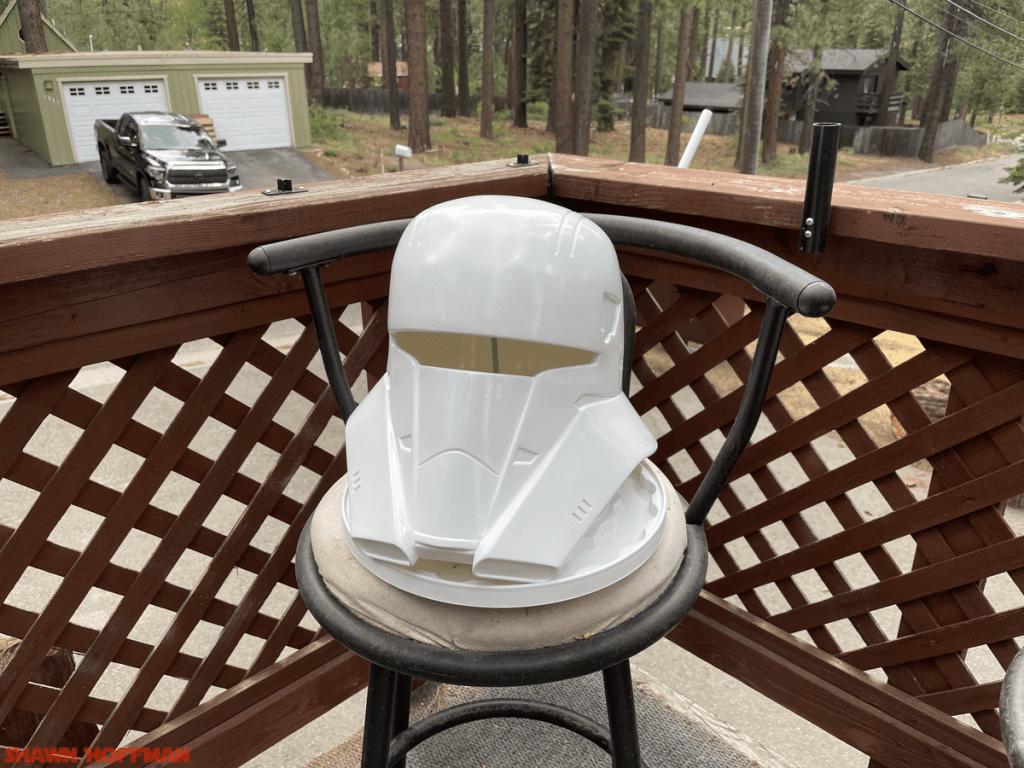
Starting out, I was surprised to open the helmet box to find a handful of different rotocast pieces. Included in the shipment were the following:
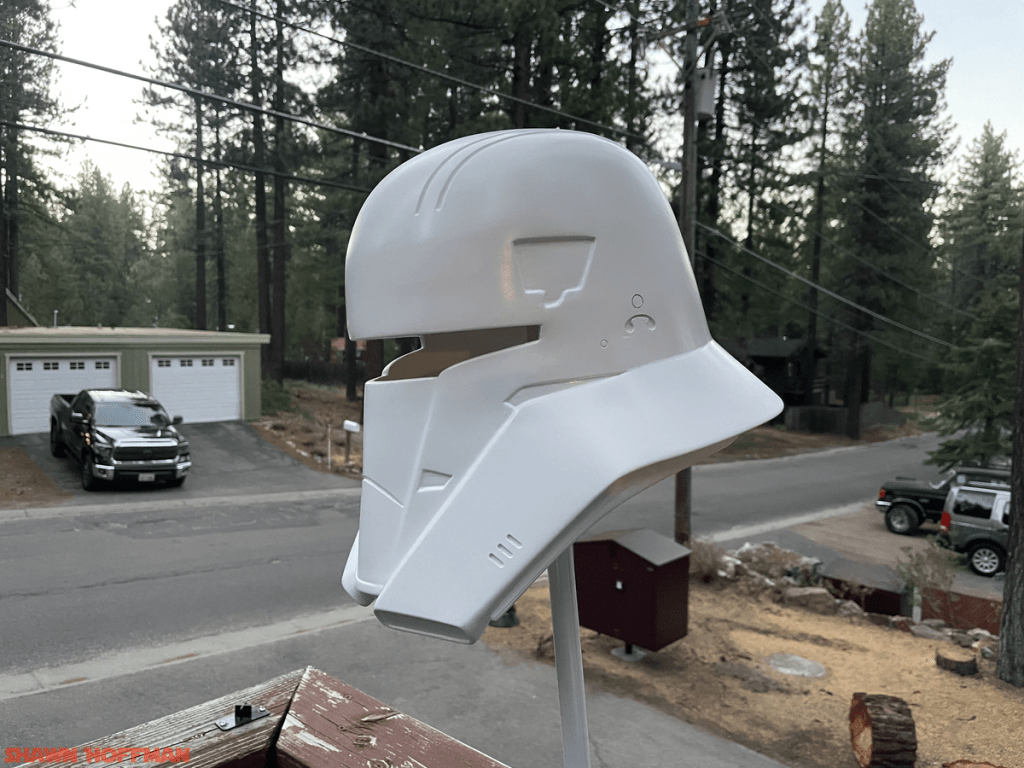
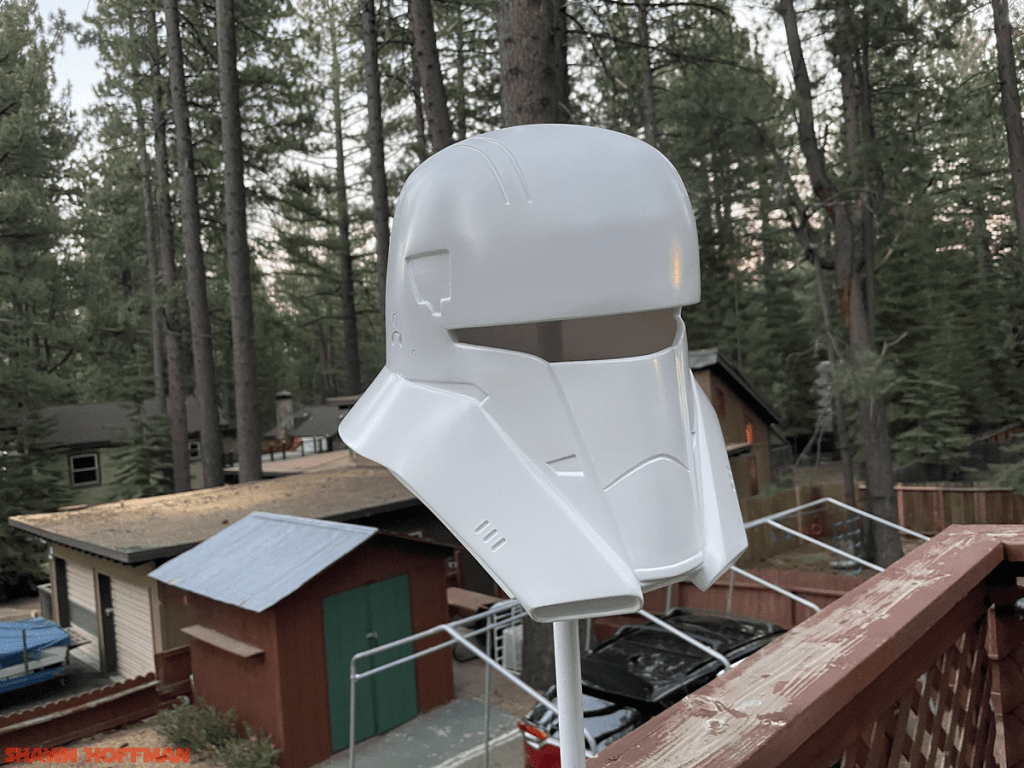
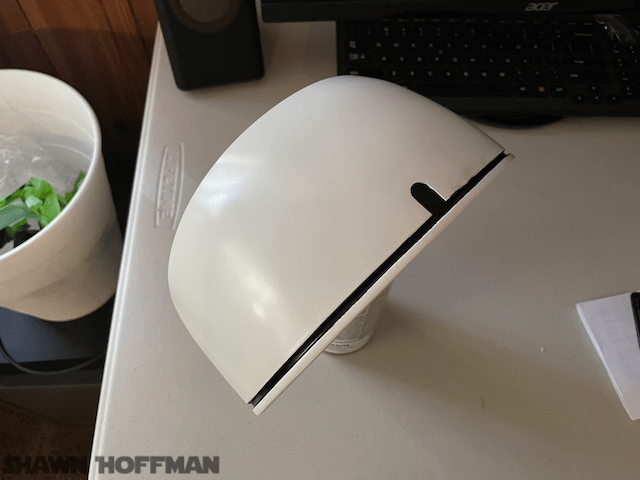
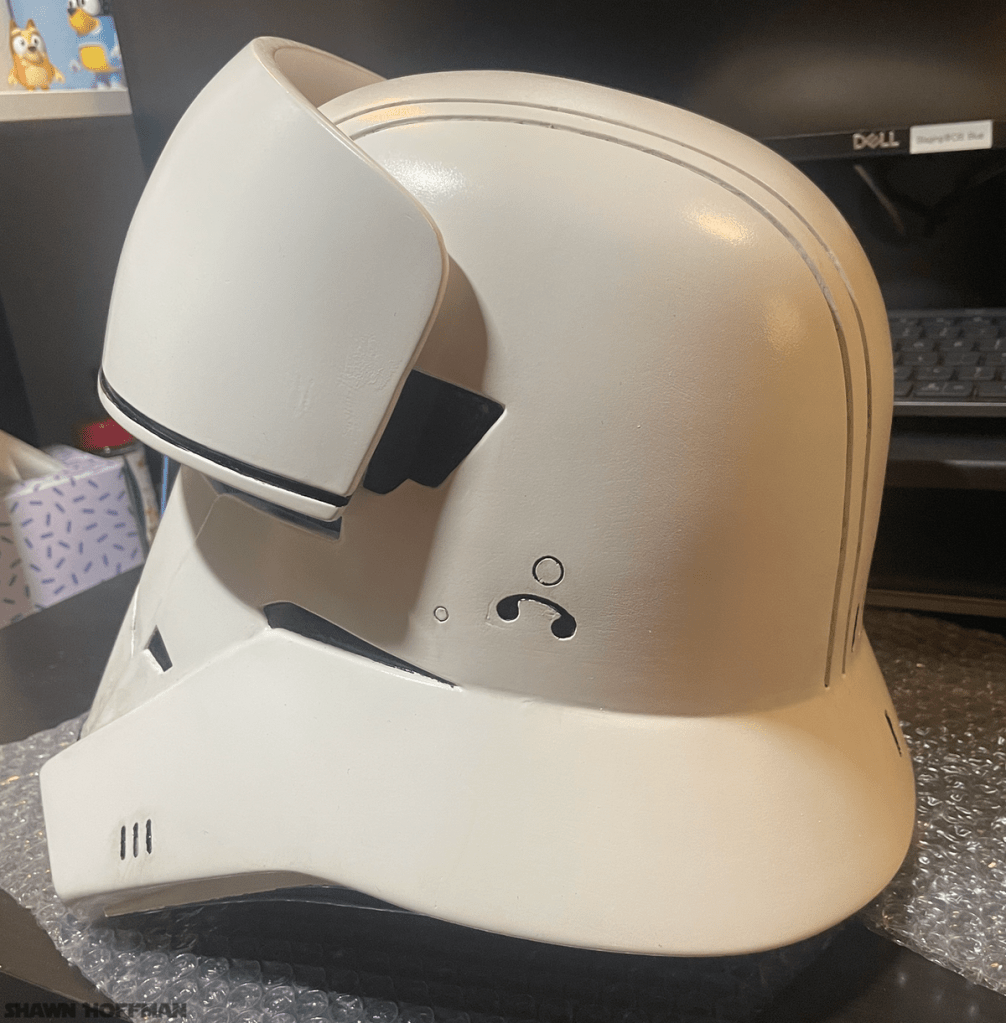
Helmet with bottom and visor openings still intact
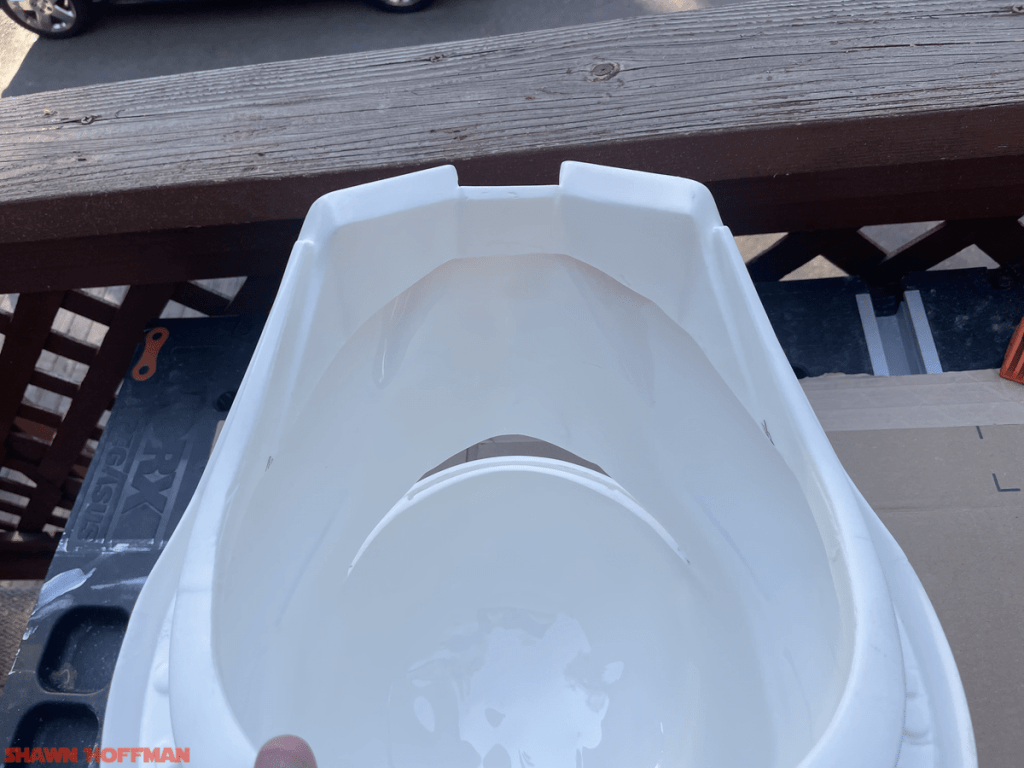
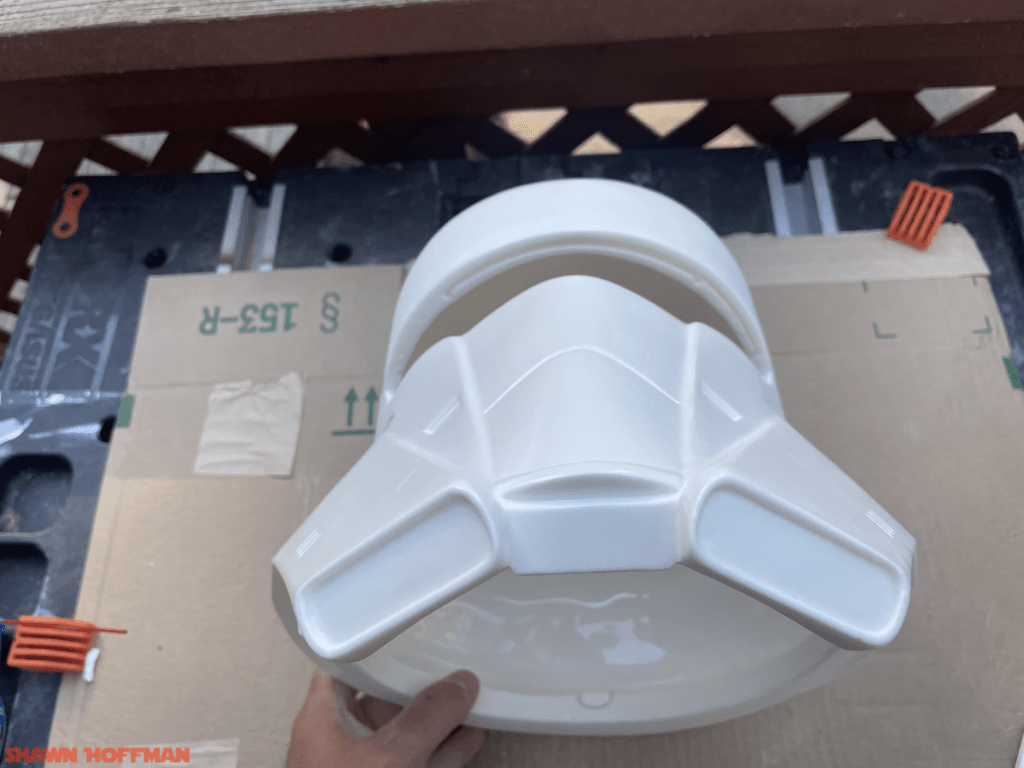
2-piece blast shield
Dark translucent visor blank
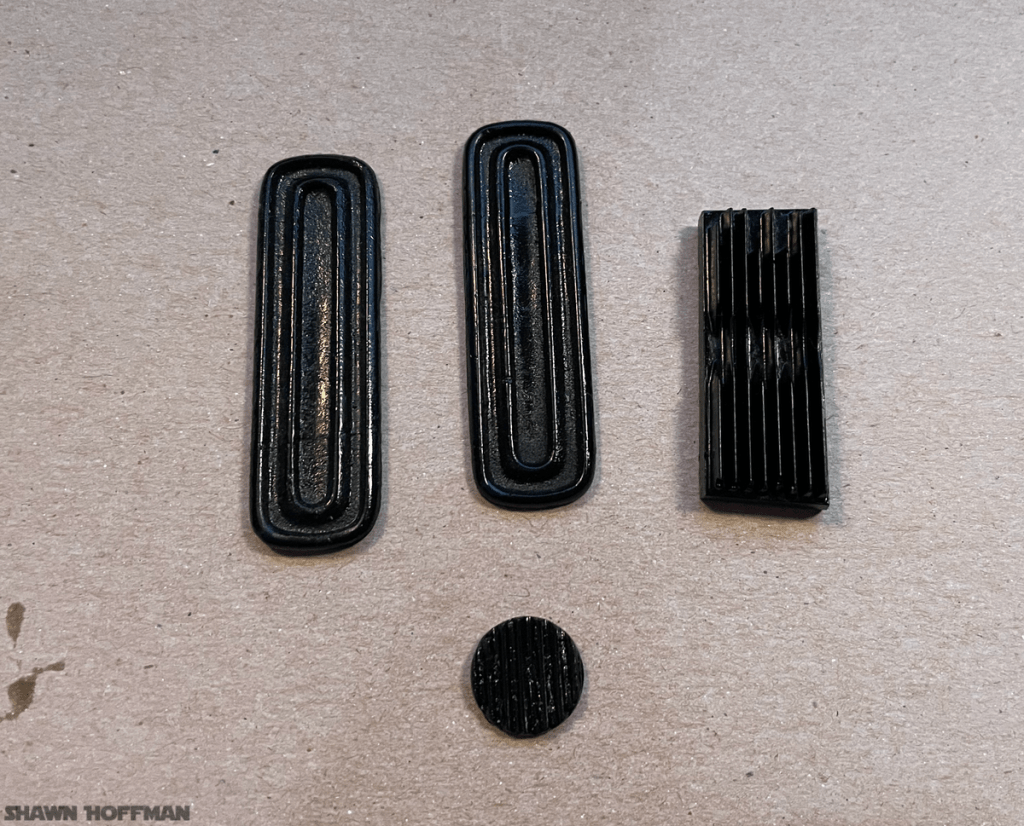
Small baggie of greeblies
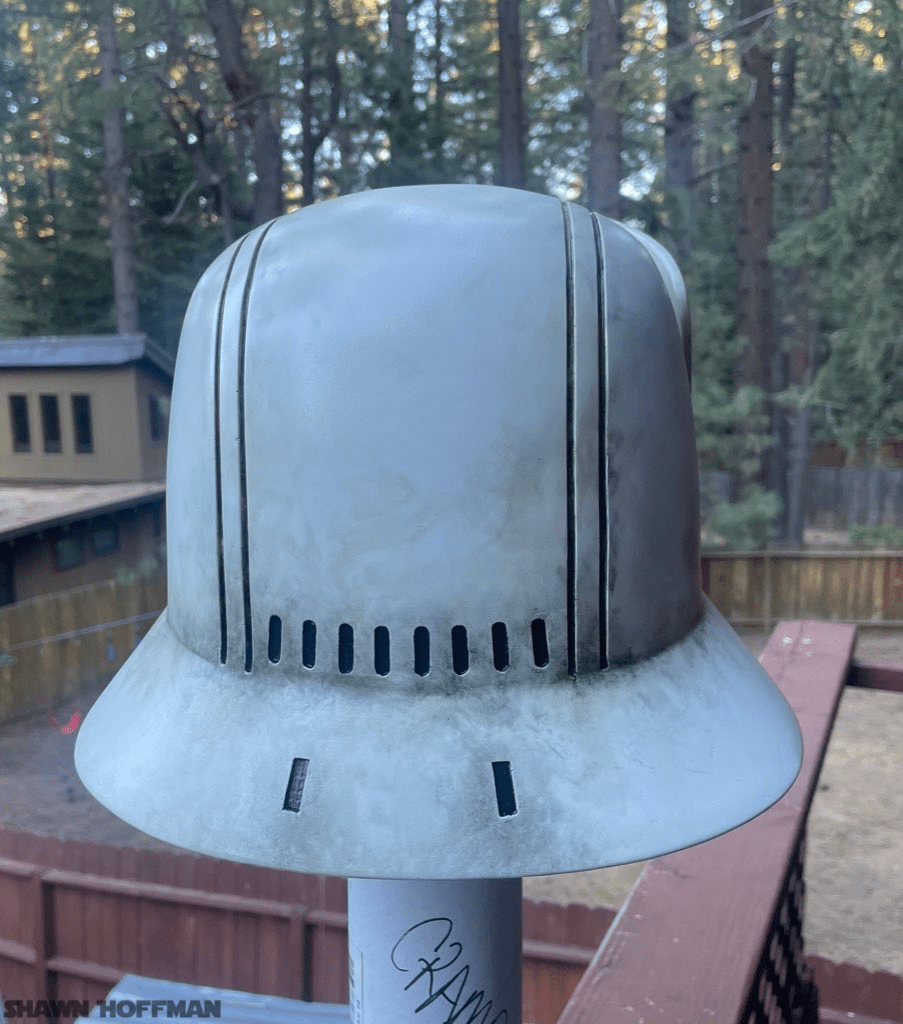
Helmet and blast shield fresh out of the box
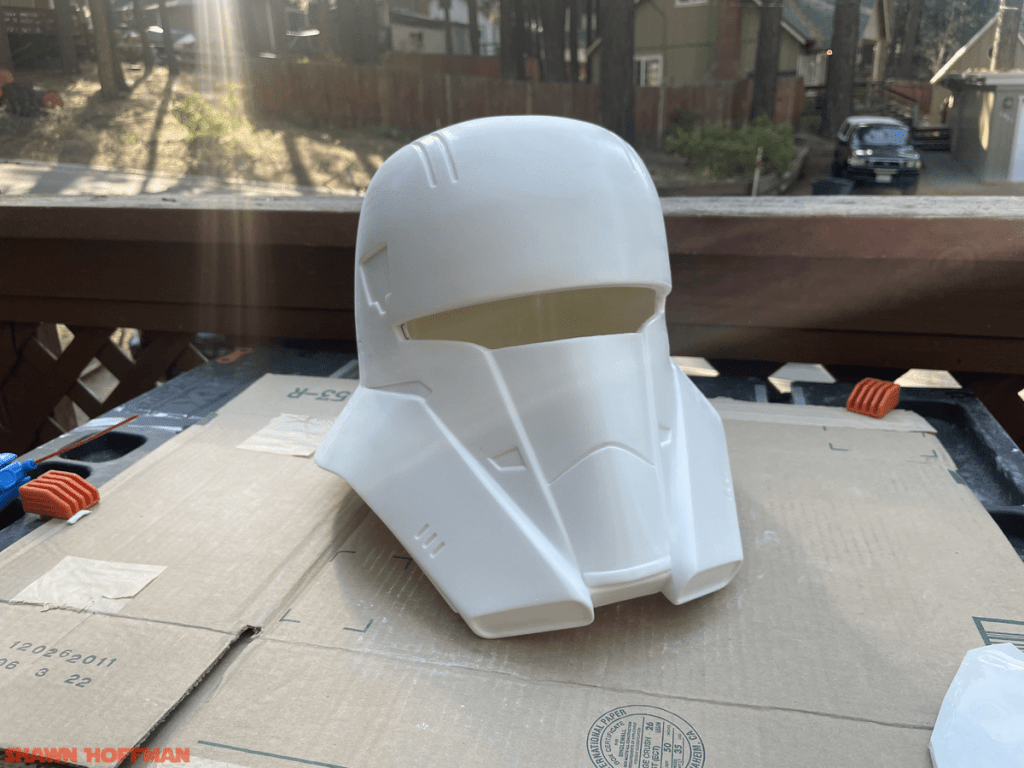
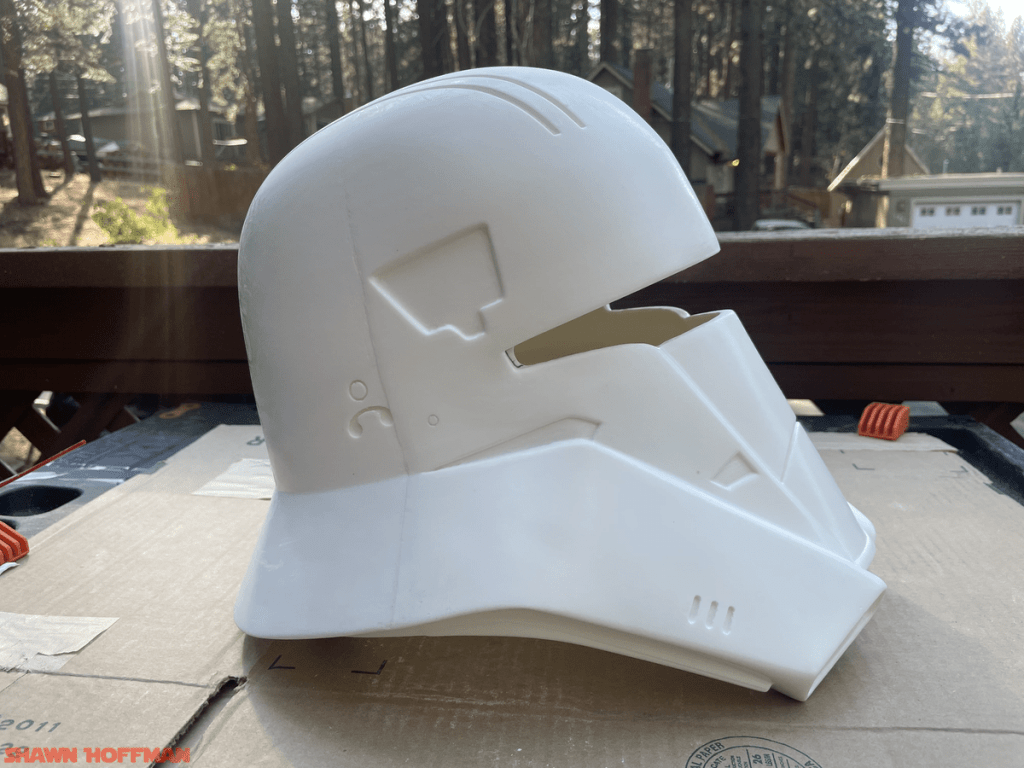
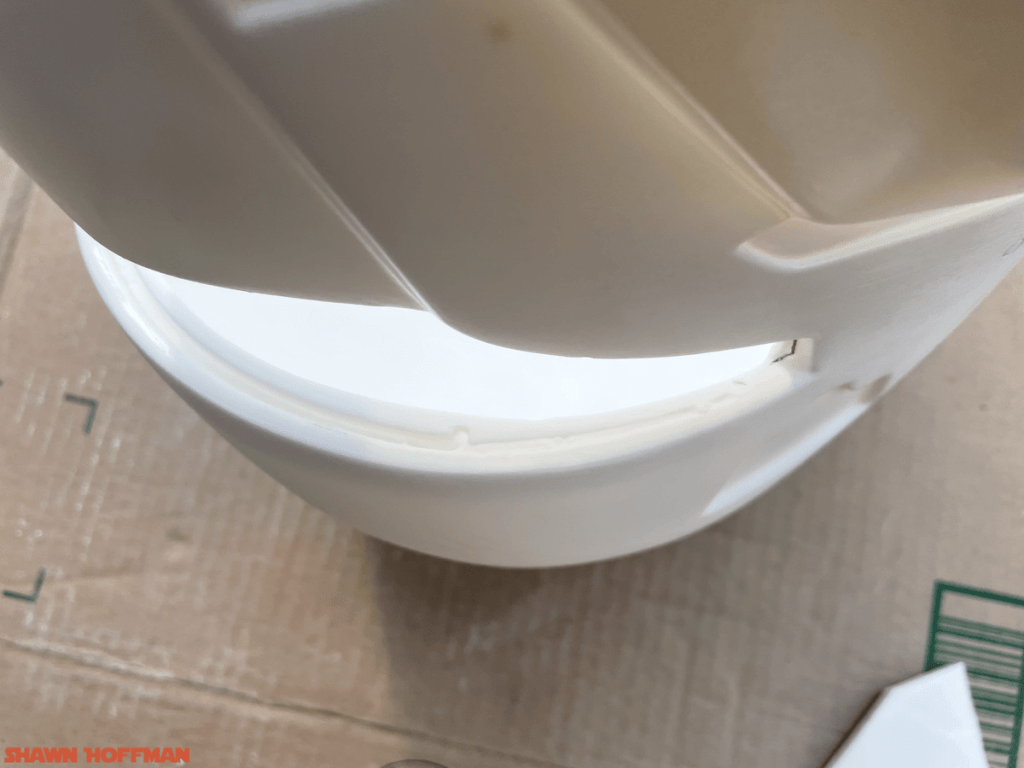
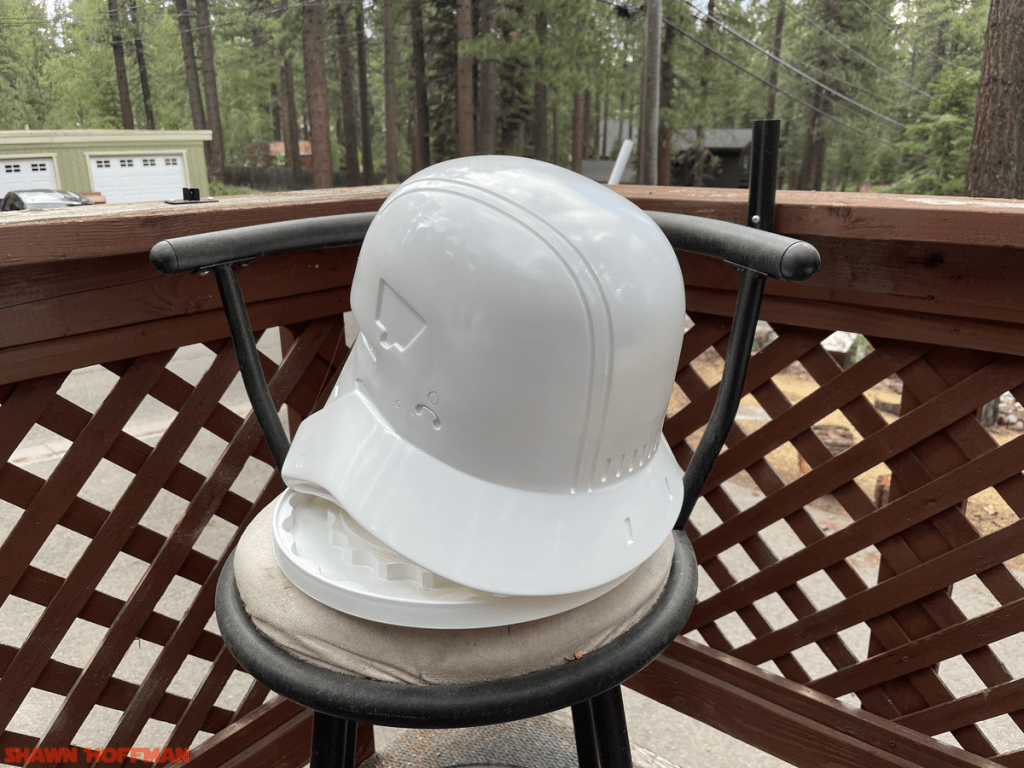
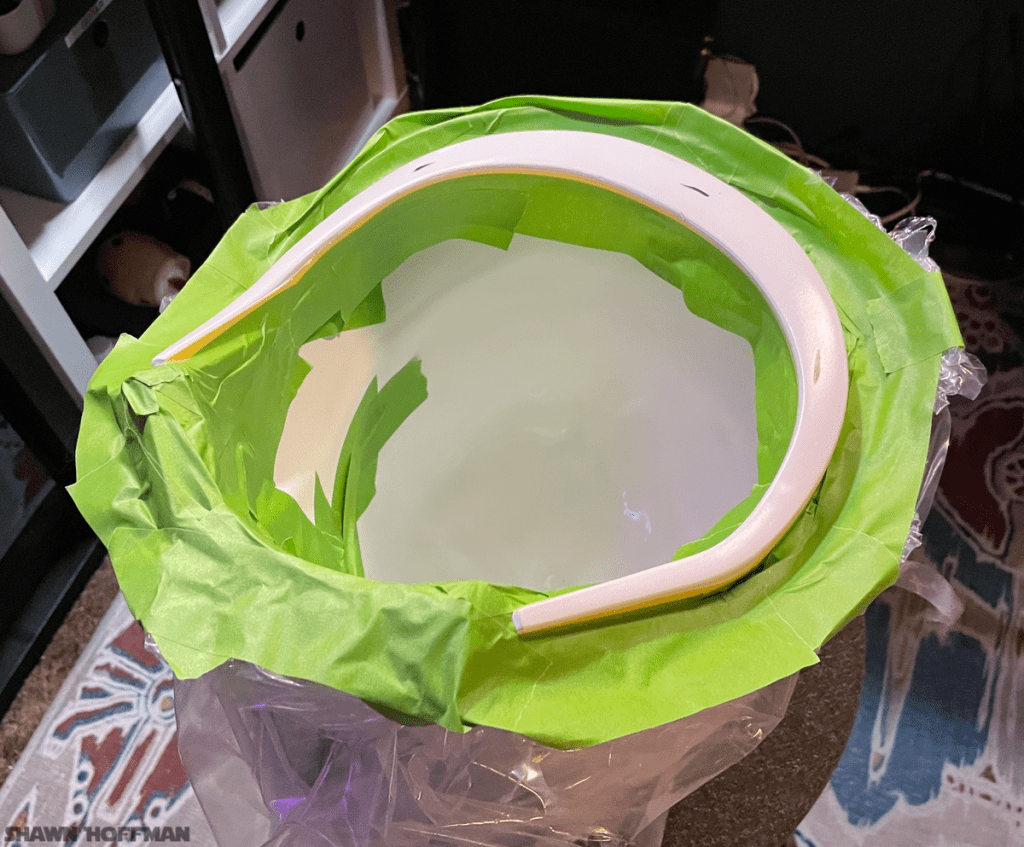
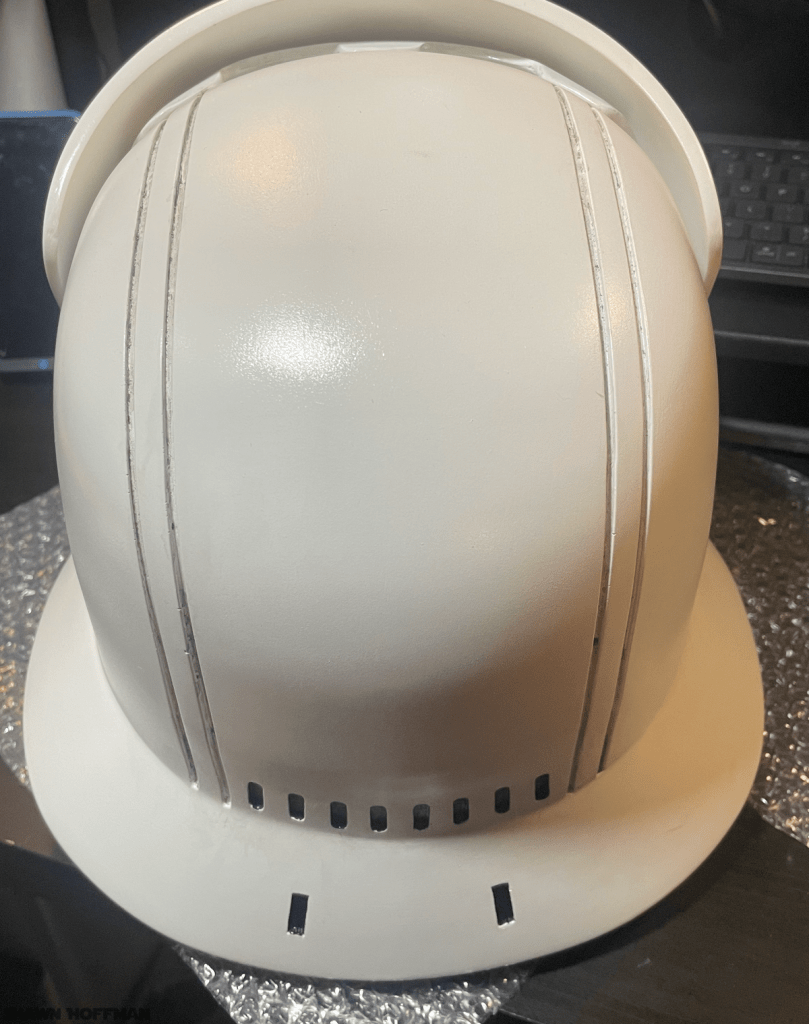
Parts Clean Up
The first thing I needed to do what clean up all of the parts. This included cutting out the bottom hole for my head to go in, the visor so that I can see, and all of the rough edges leftover from the manufacturing process. For this, I used a Dremel tool with various sizes of rotary sanding drums. I tried other bits as well but the drums worked far better than anything else.
Helmet mid-cleanupBefore I picked up some small sanding drums, I left the tight spots intactPencil marks are where I outlined the cut path to make it easier to seeThe “visor slot”, or whatever this groove is called, was partially filled so I cleared it out with some small scale modeling tools and files
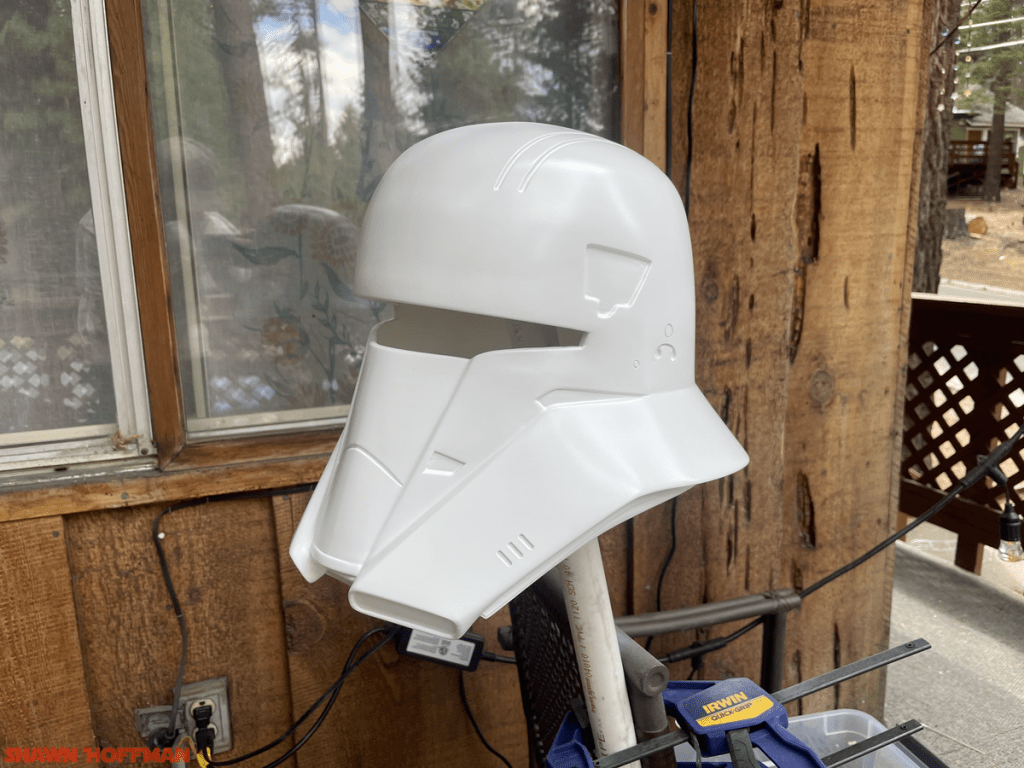
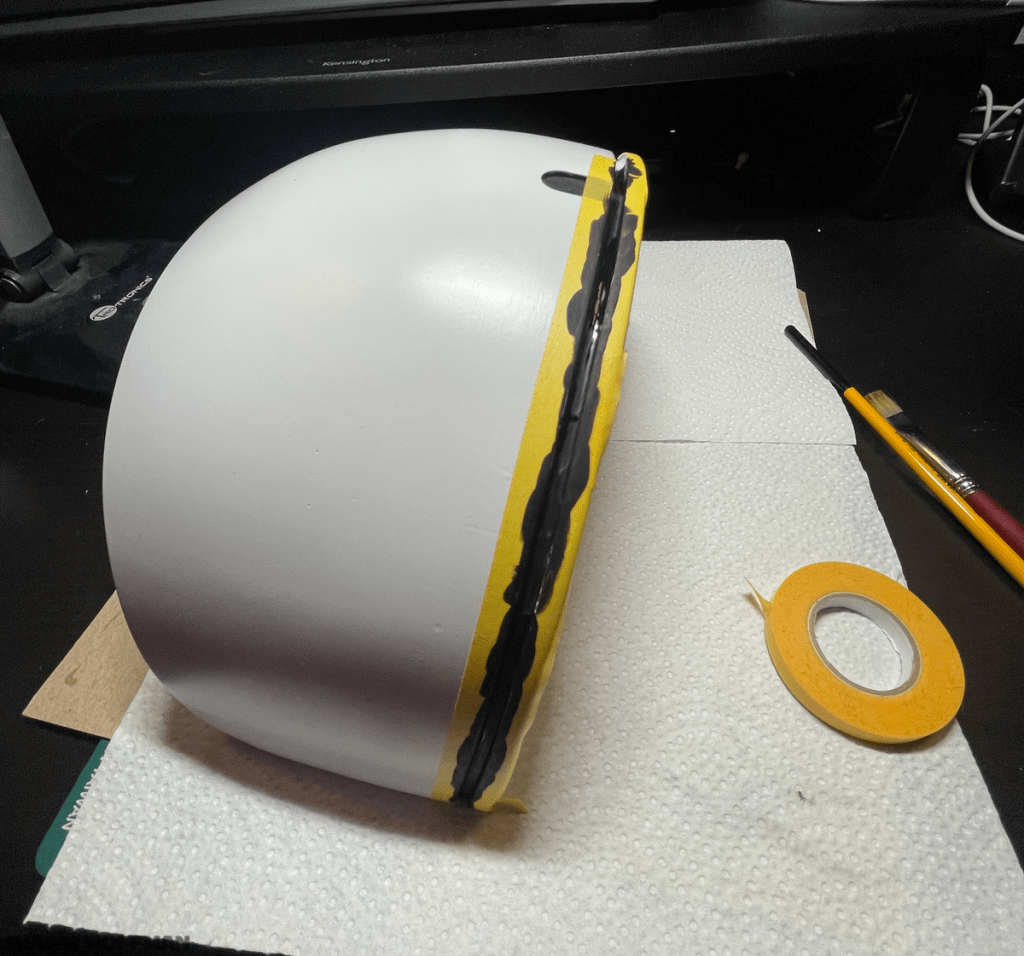
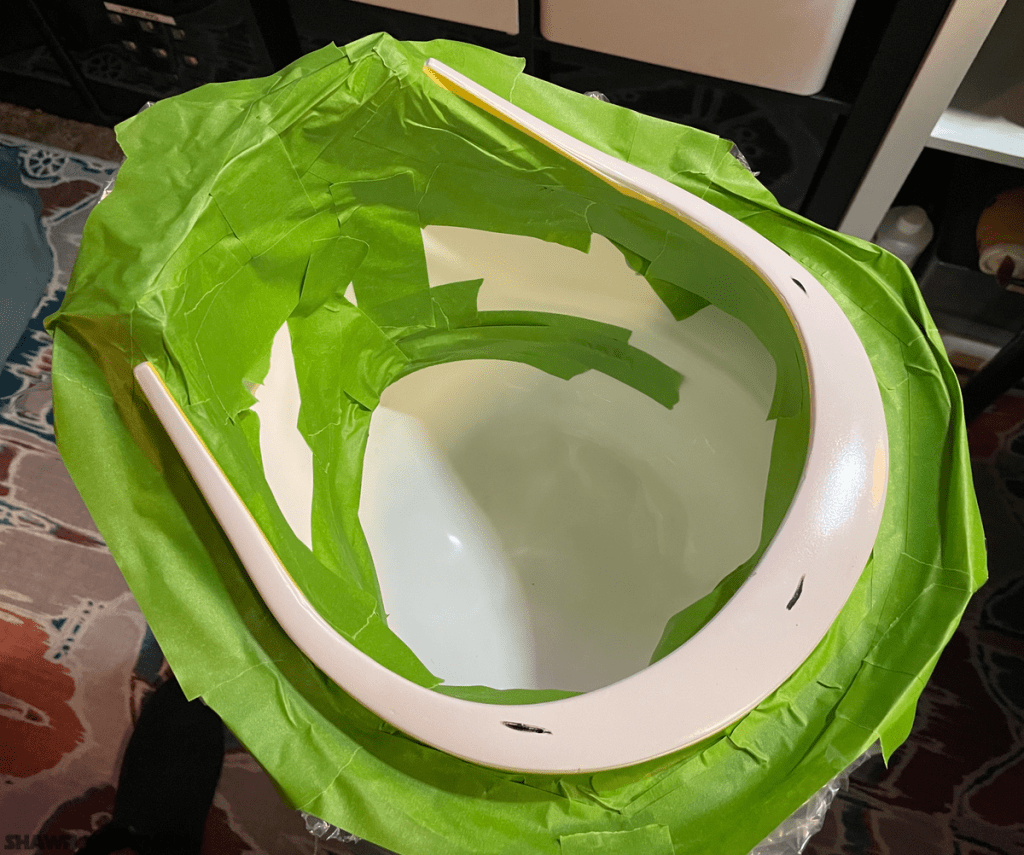
Repair & Filling
First pass at repairing the mold lines on the helmet. There was considerable cleanup on the top of the head and along the seams.Supplies for filling and painting. I used the blank on the helmet greeblies.
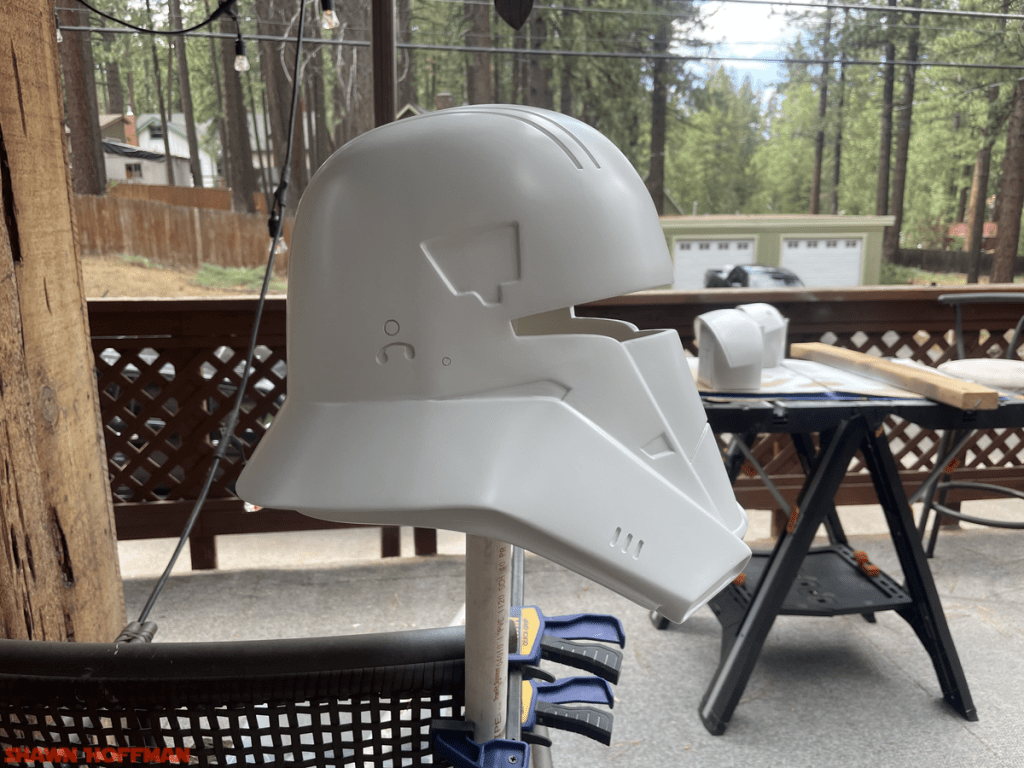
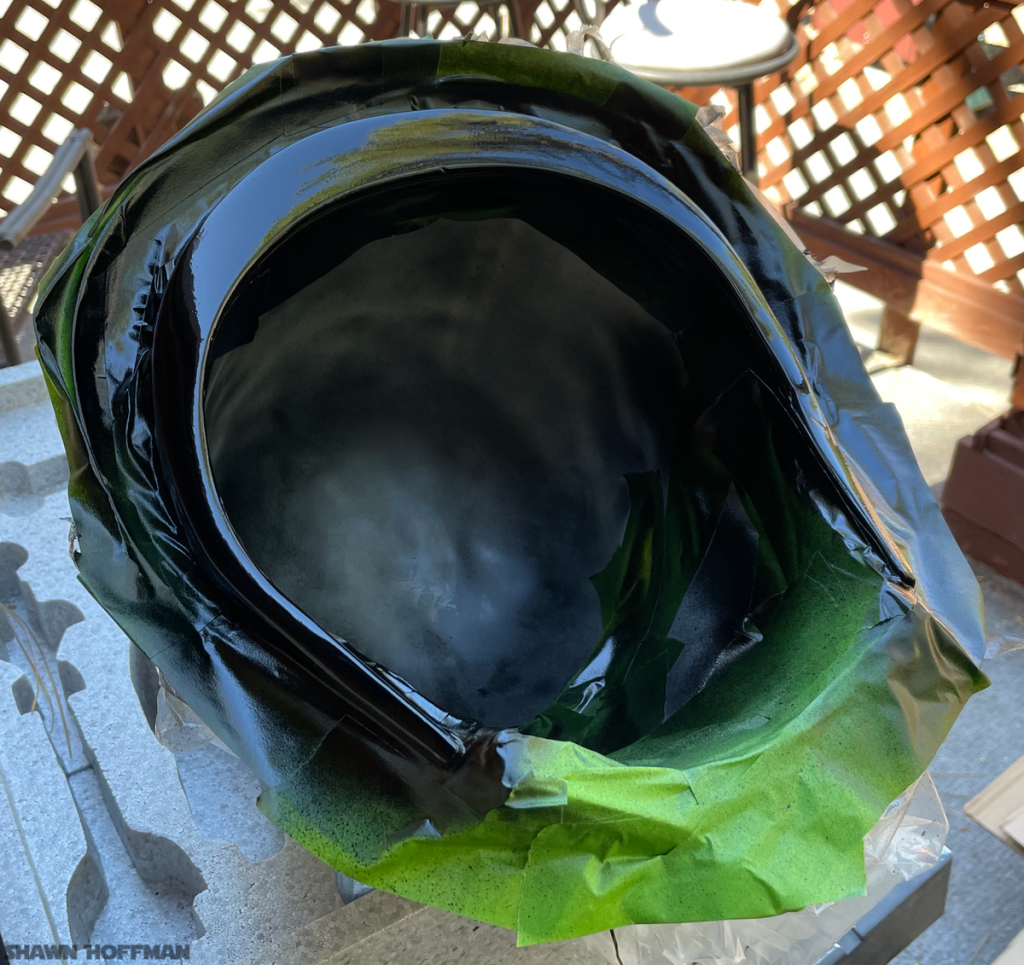
Painting
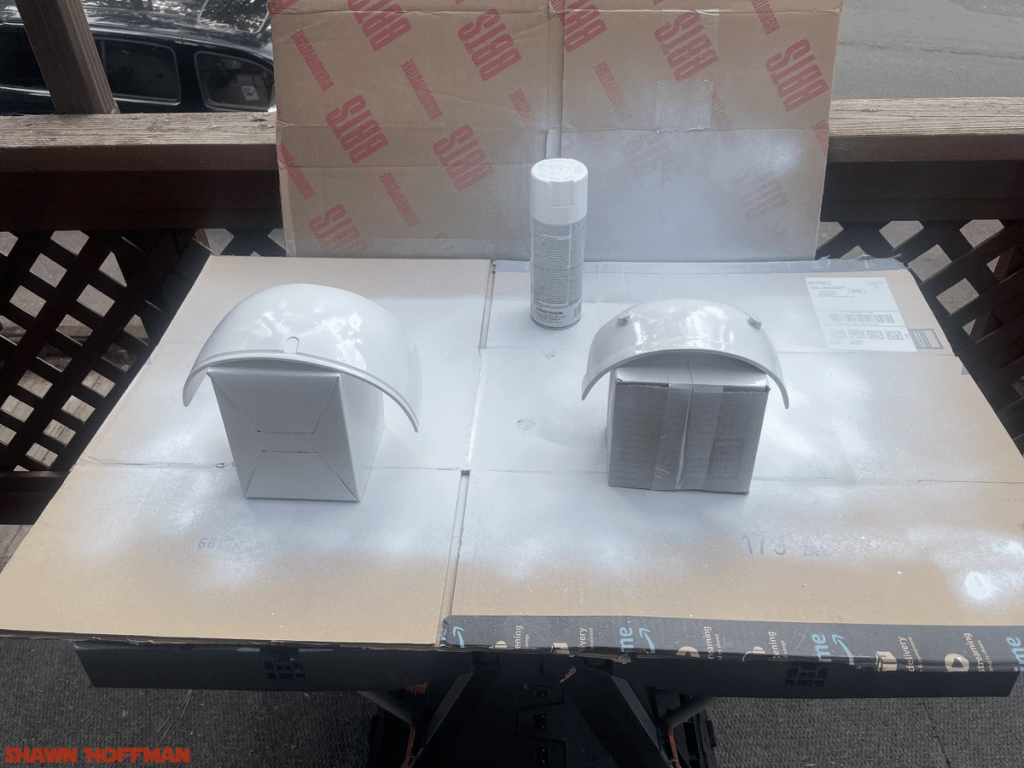
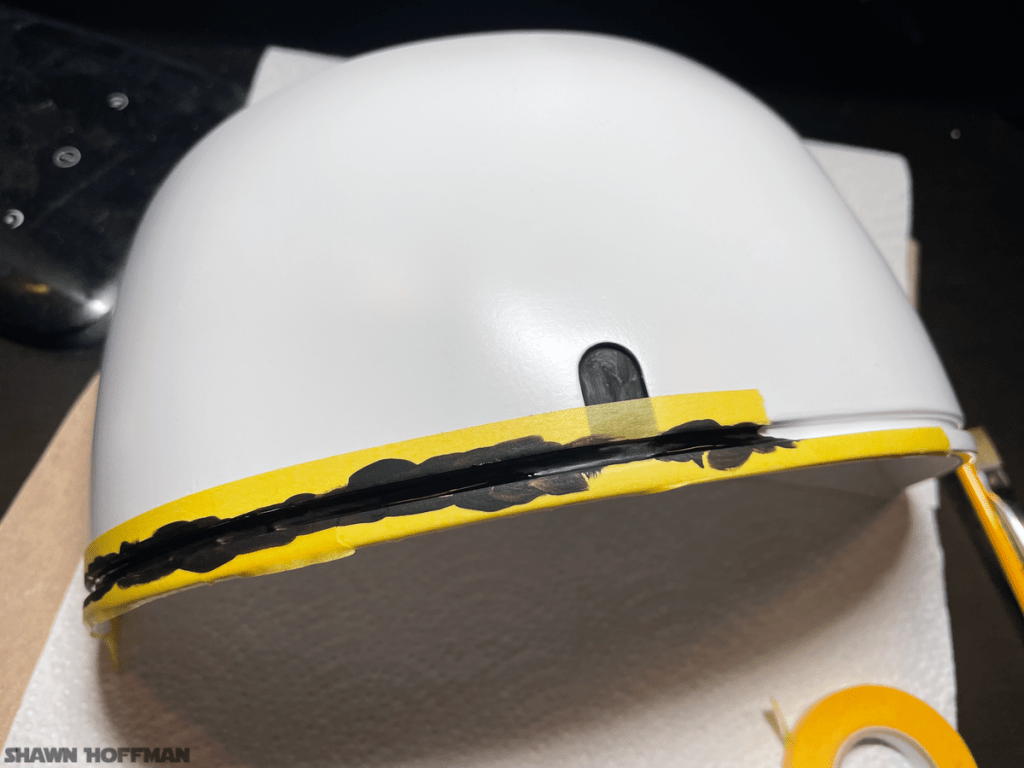
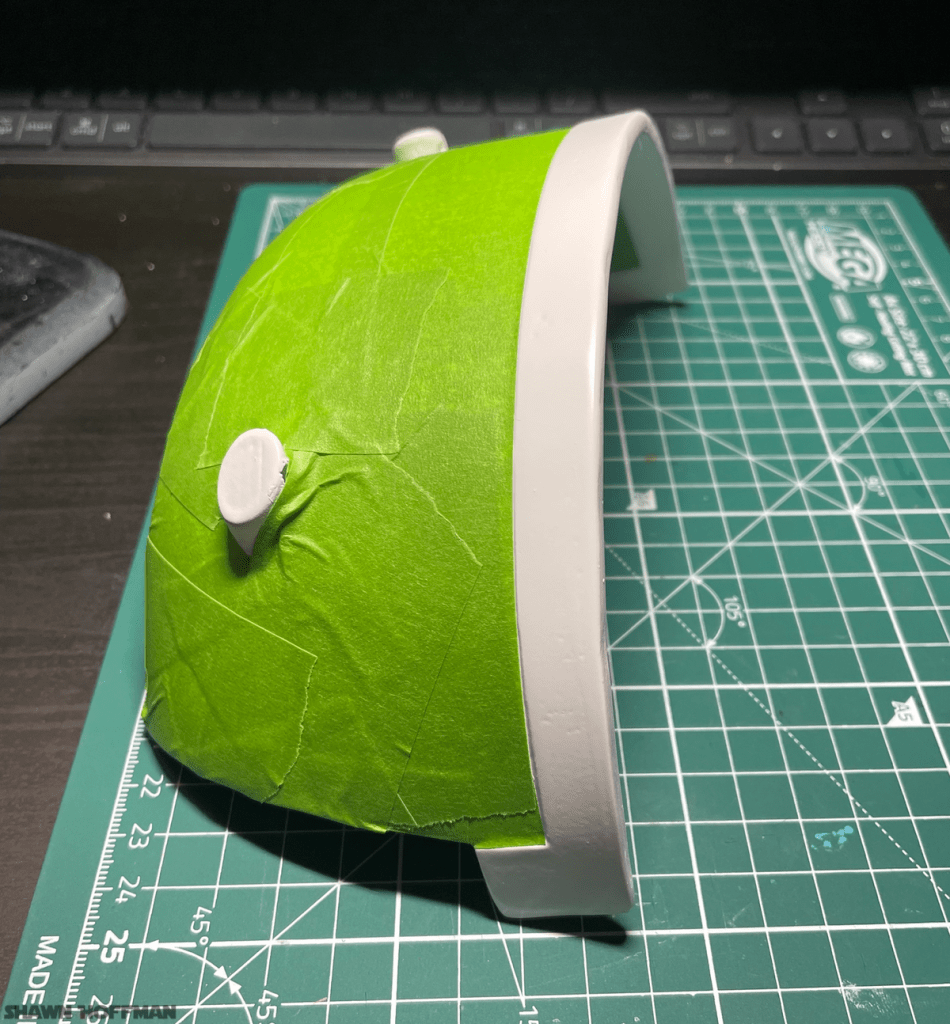
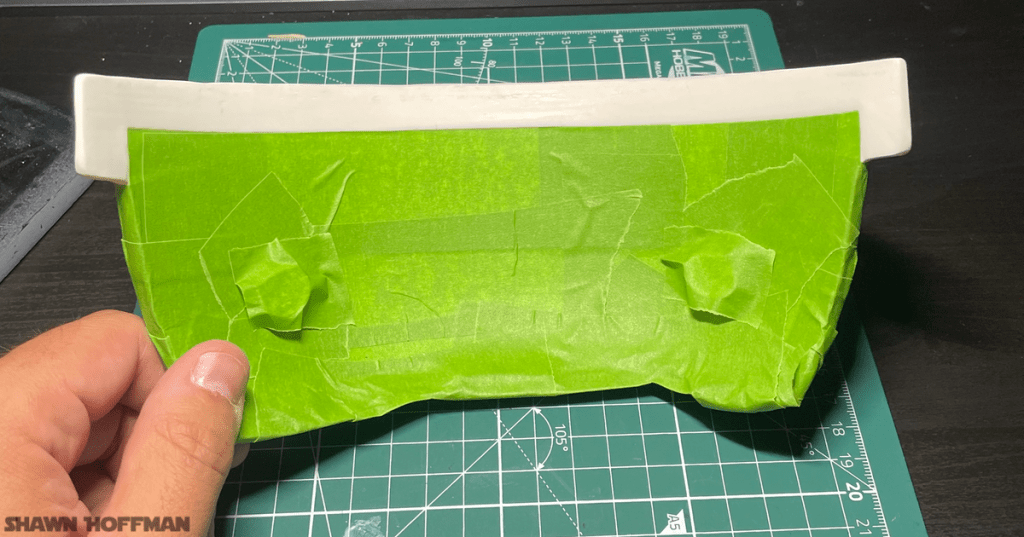
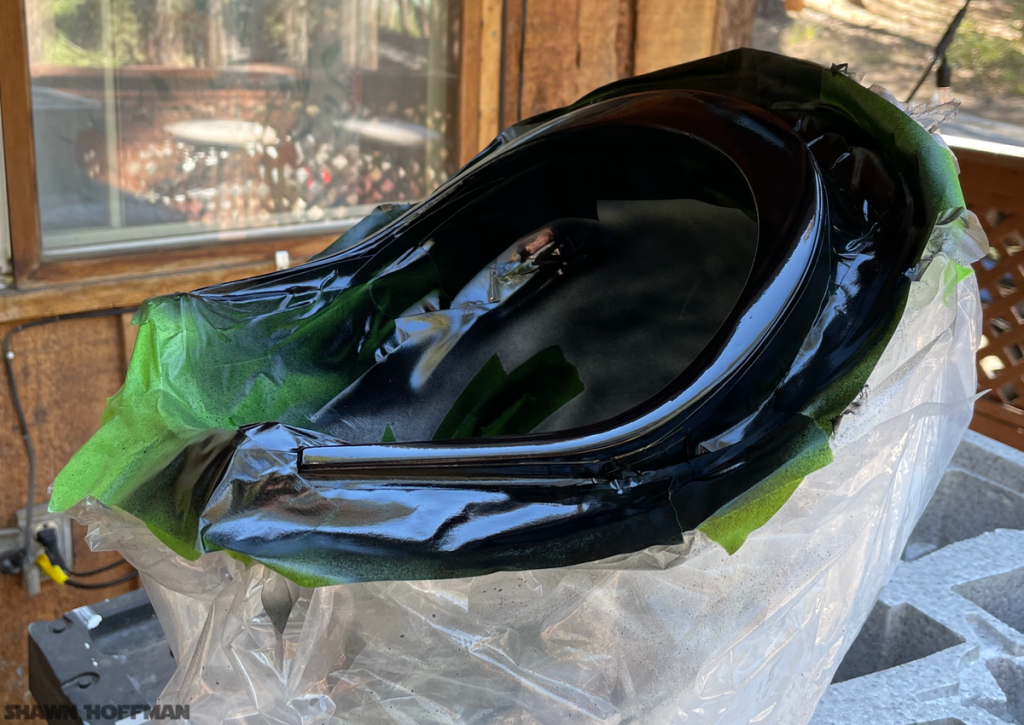
First coats on the blast shield and horn plateHitting it with gloss white to help cover imperfectionsAfter spraying white semi-gloss on to help bring the shine down a bitGreeblies painted blackMasked off the blast shield to help paint the groove blackI will be clear-coating all of this when I’m finished to help balance the glossinessMasking the horn plate for spray paintMoar maskingSpraying the horn plate so that it has an even surfaceUsed some of my modeling clear coat to put a gloss coat over the white. This will help when I apply the black so that it doesn’t affect the white coatBlast shield. Debating whether I should clean up the lines or just wait until weatheringI hate maskingI really hate itUghWorth it
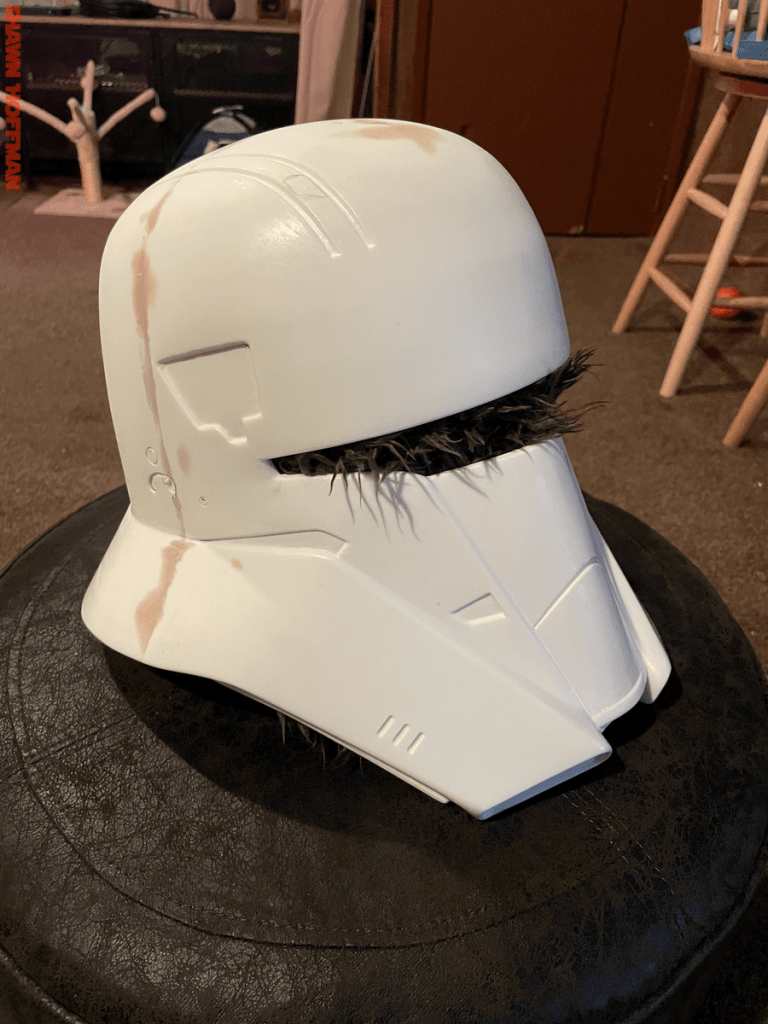
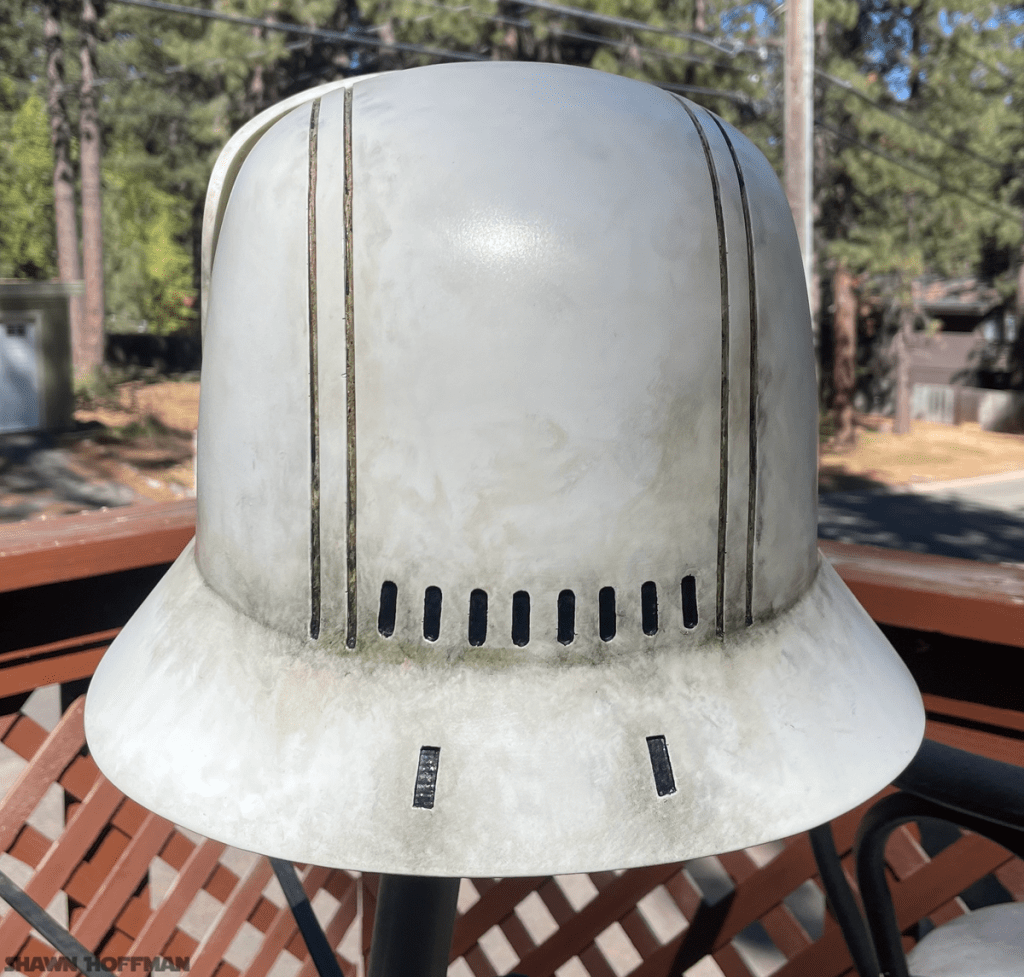
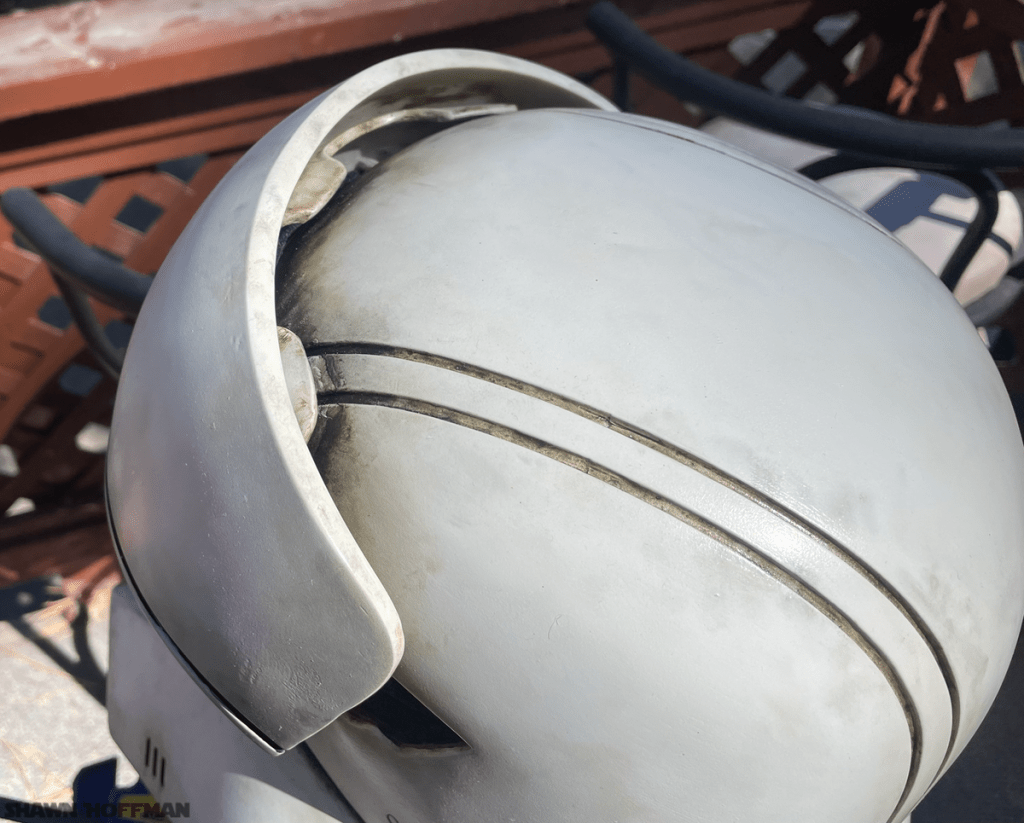
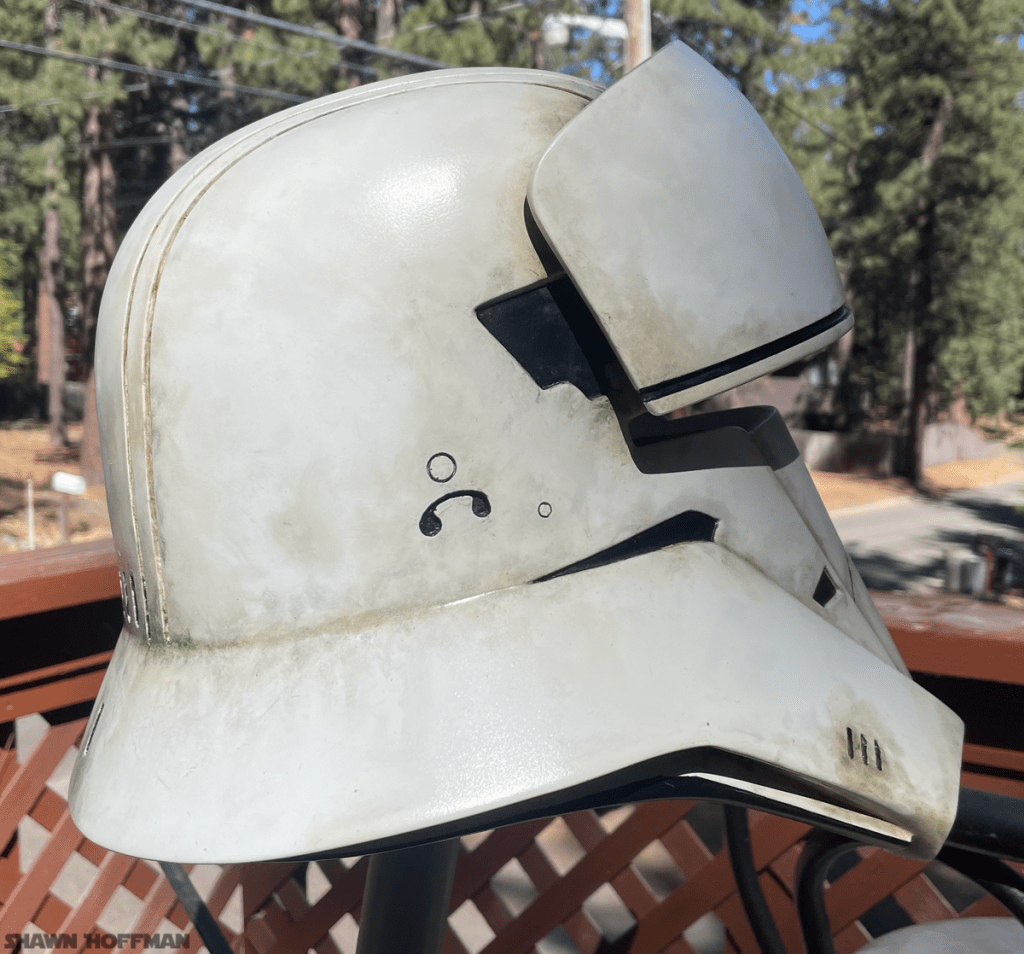
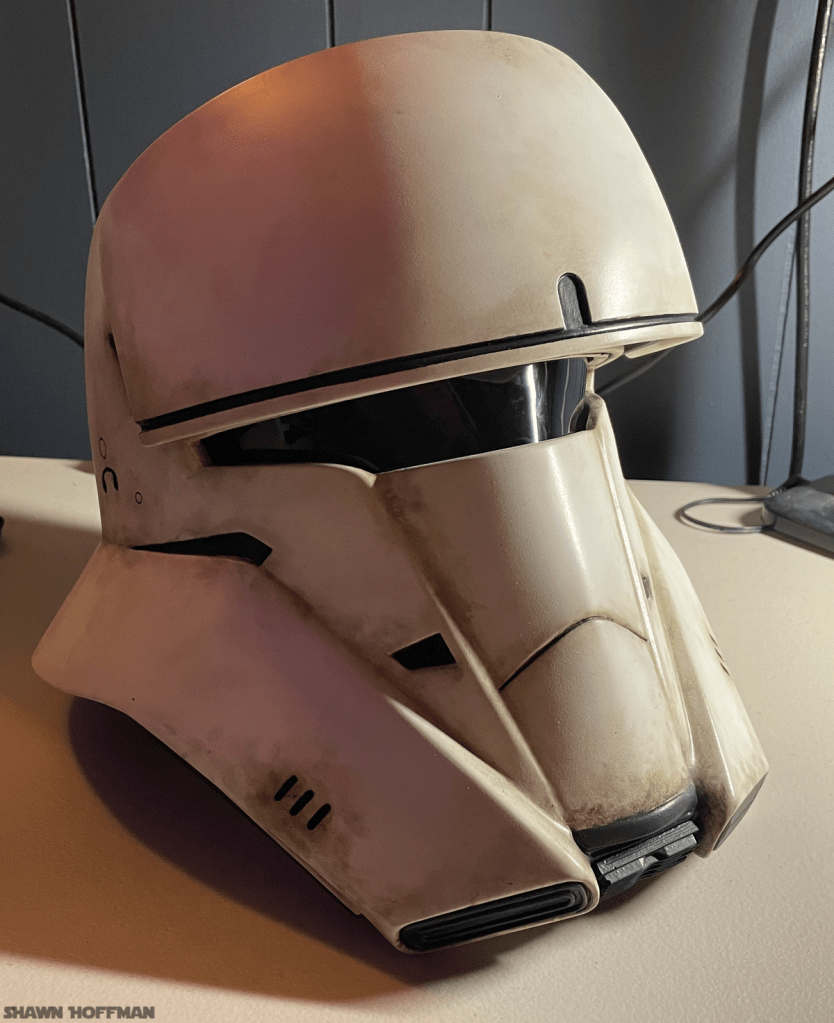
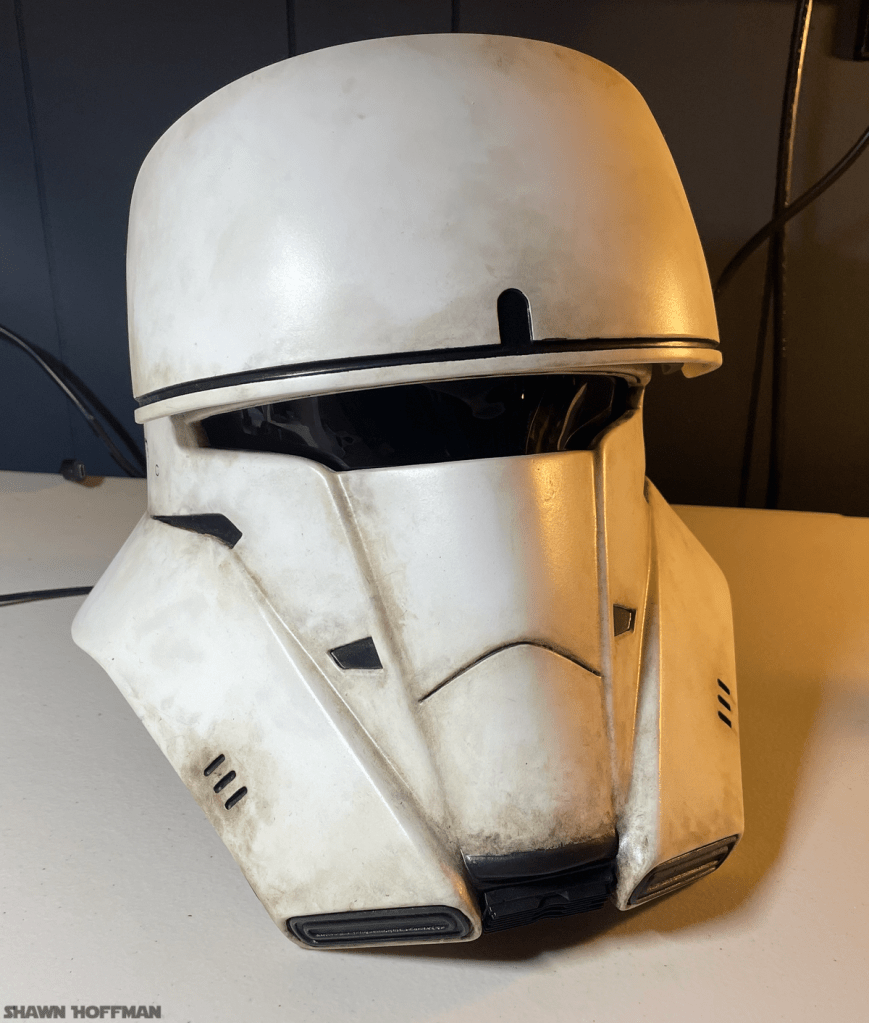
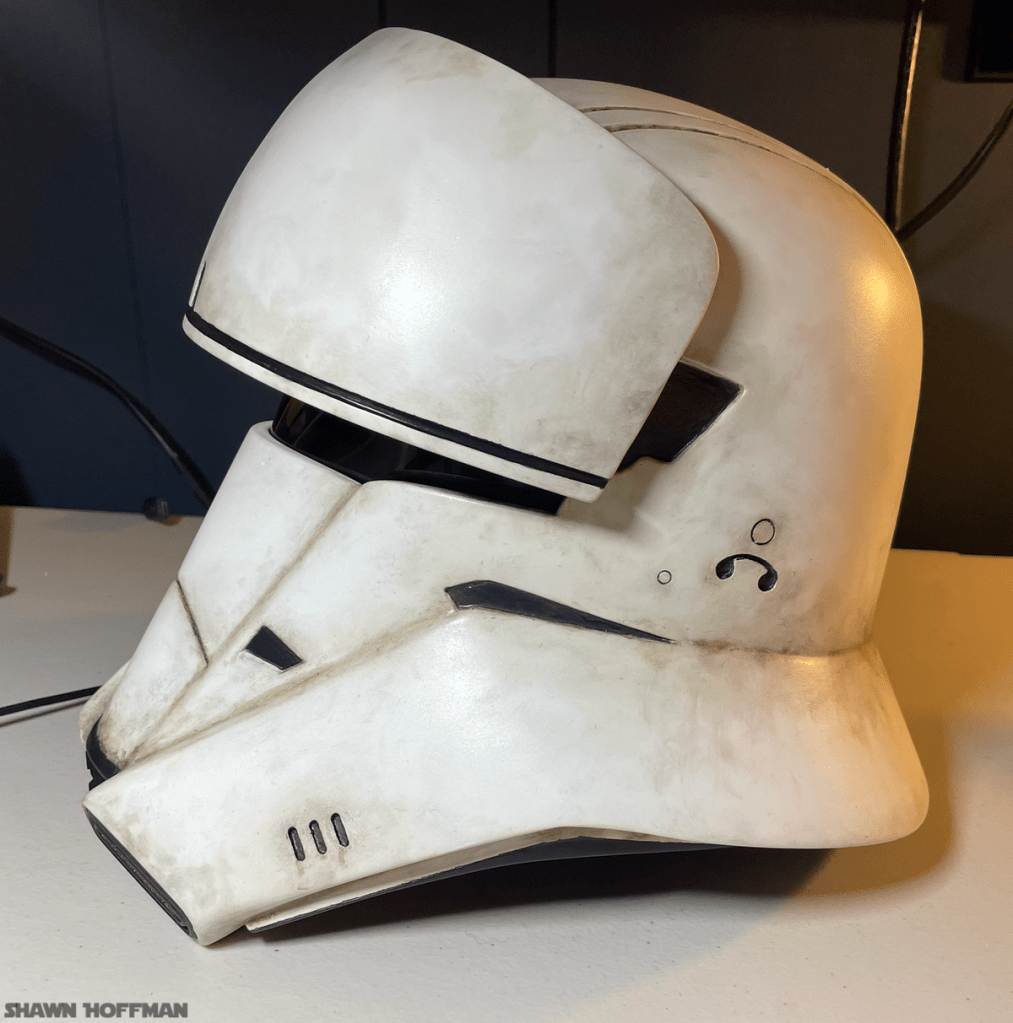
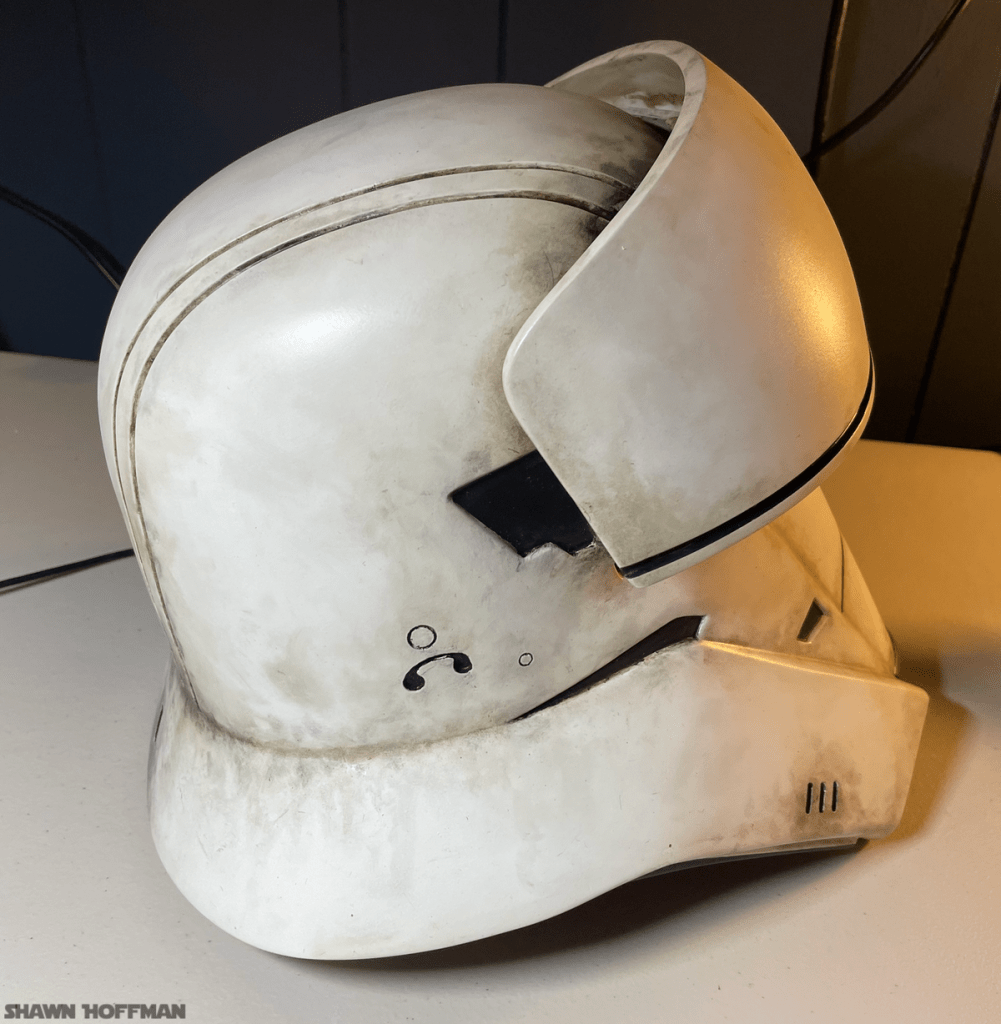
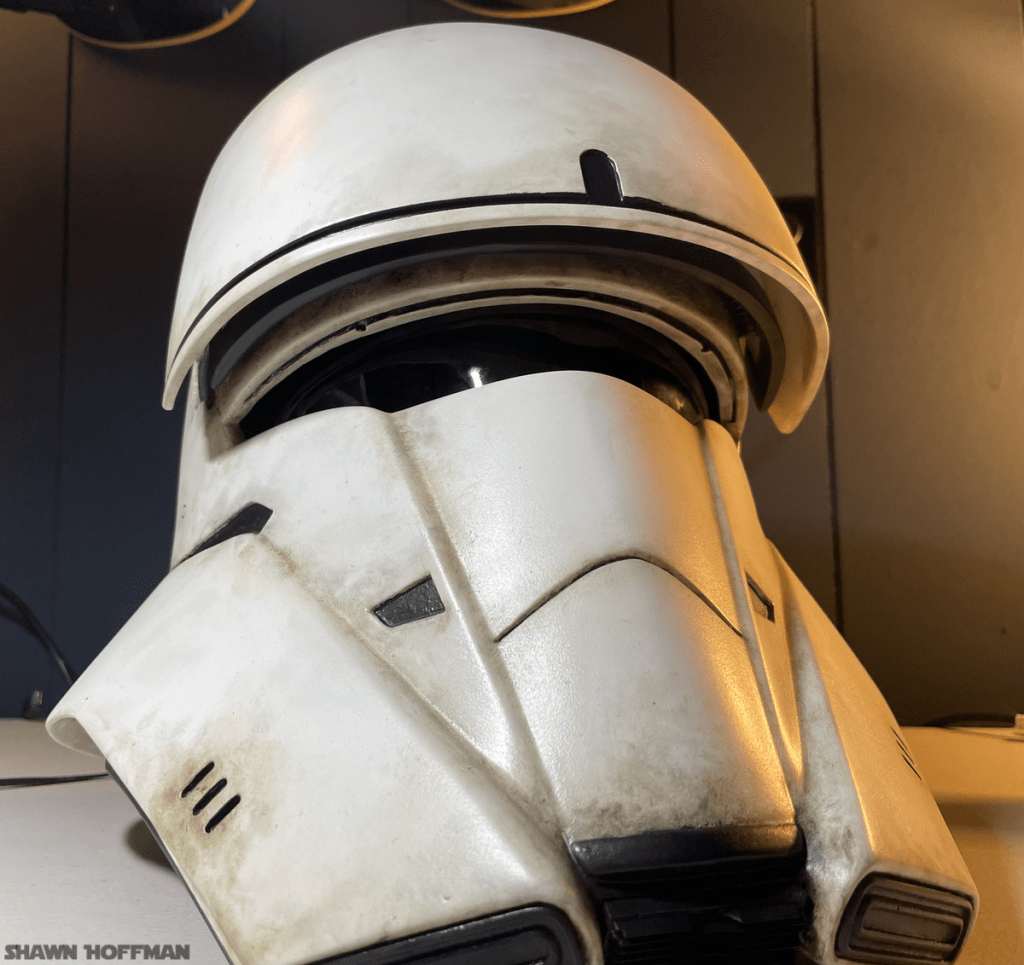
Assembly & Weathering
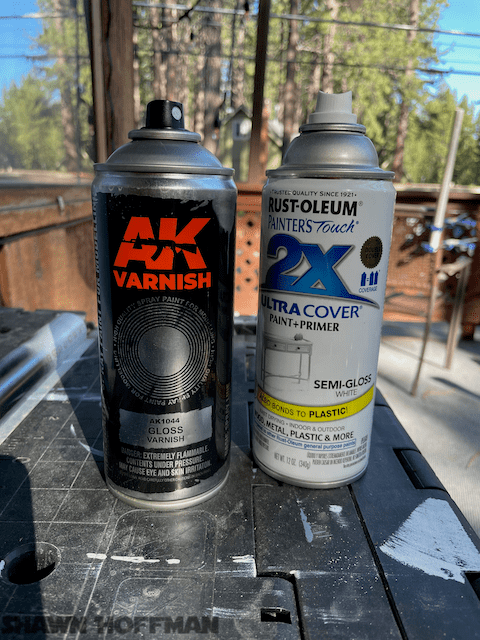
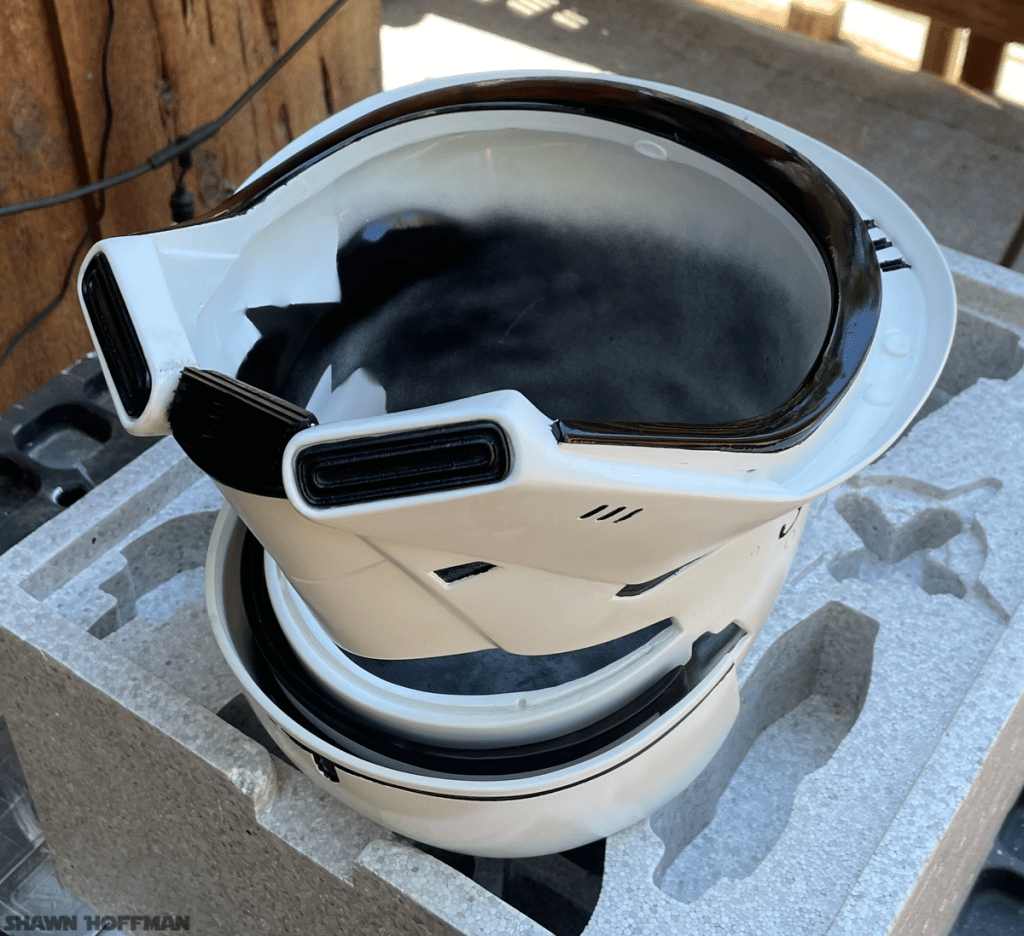
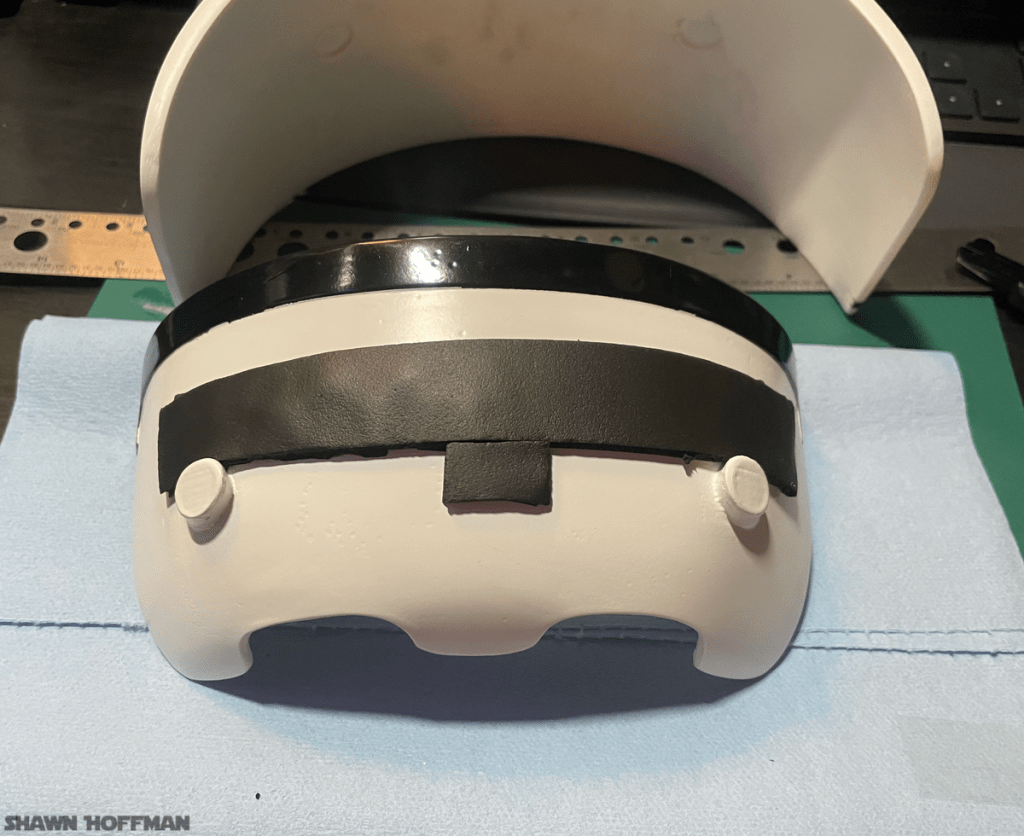
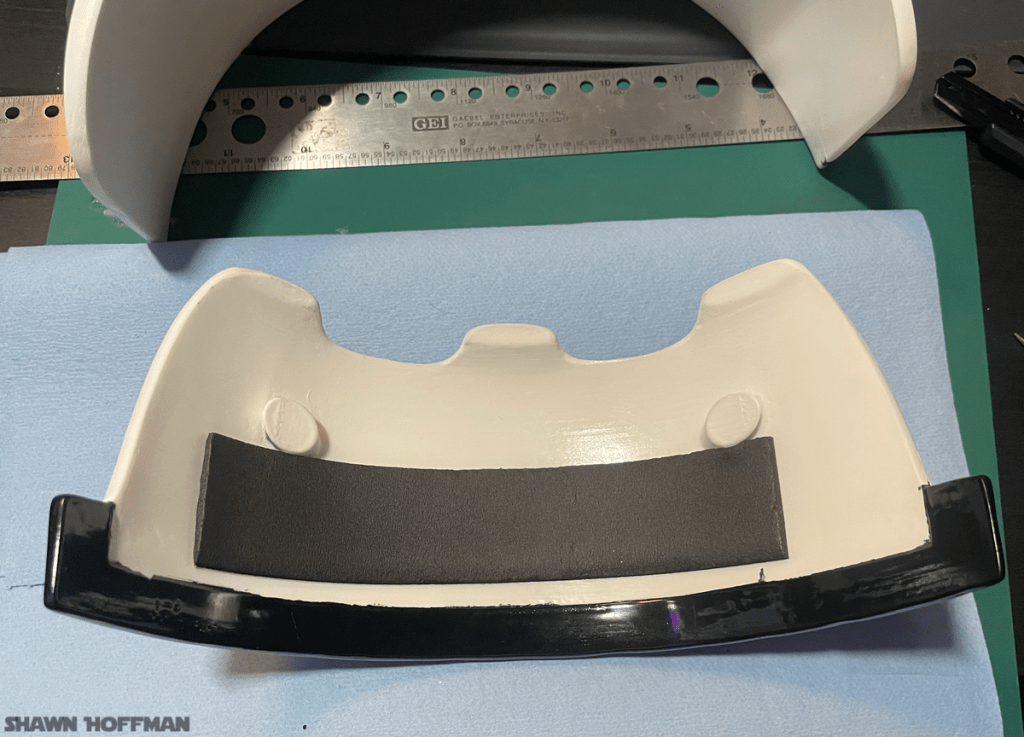
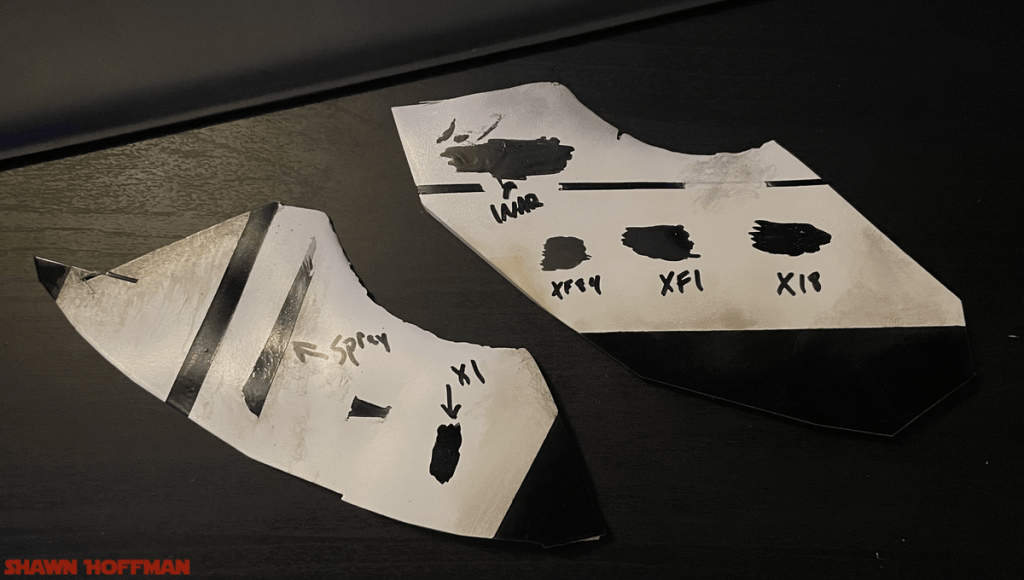
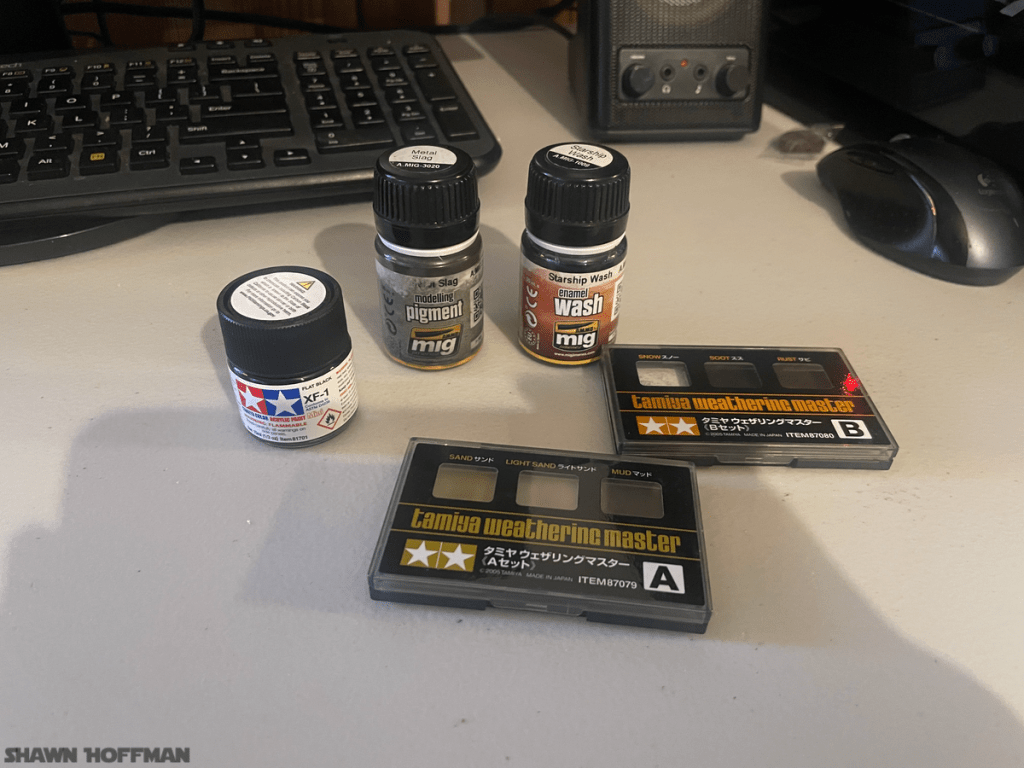
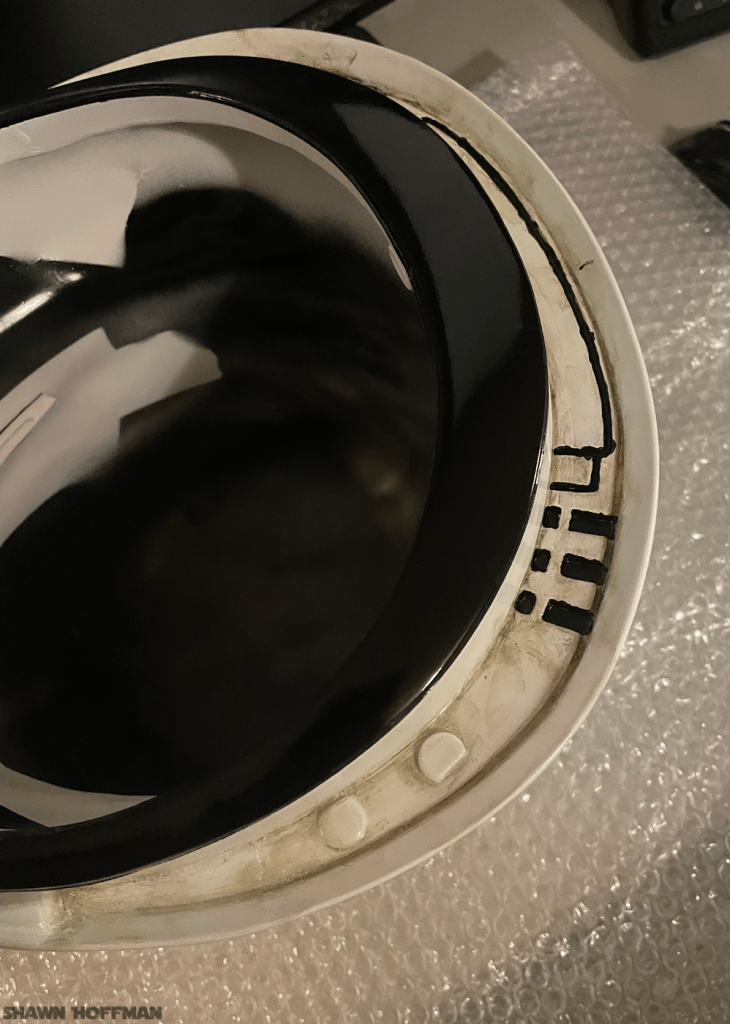
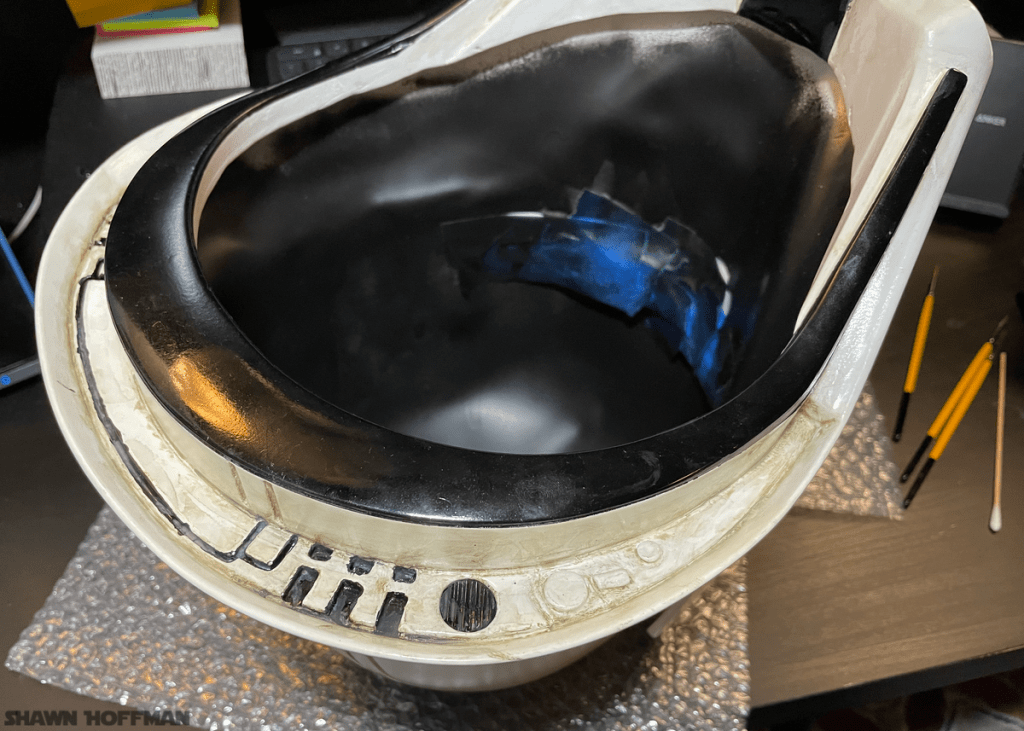
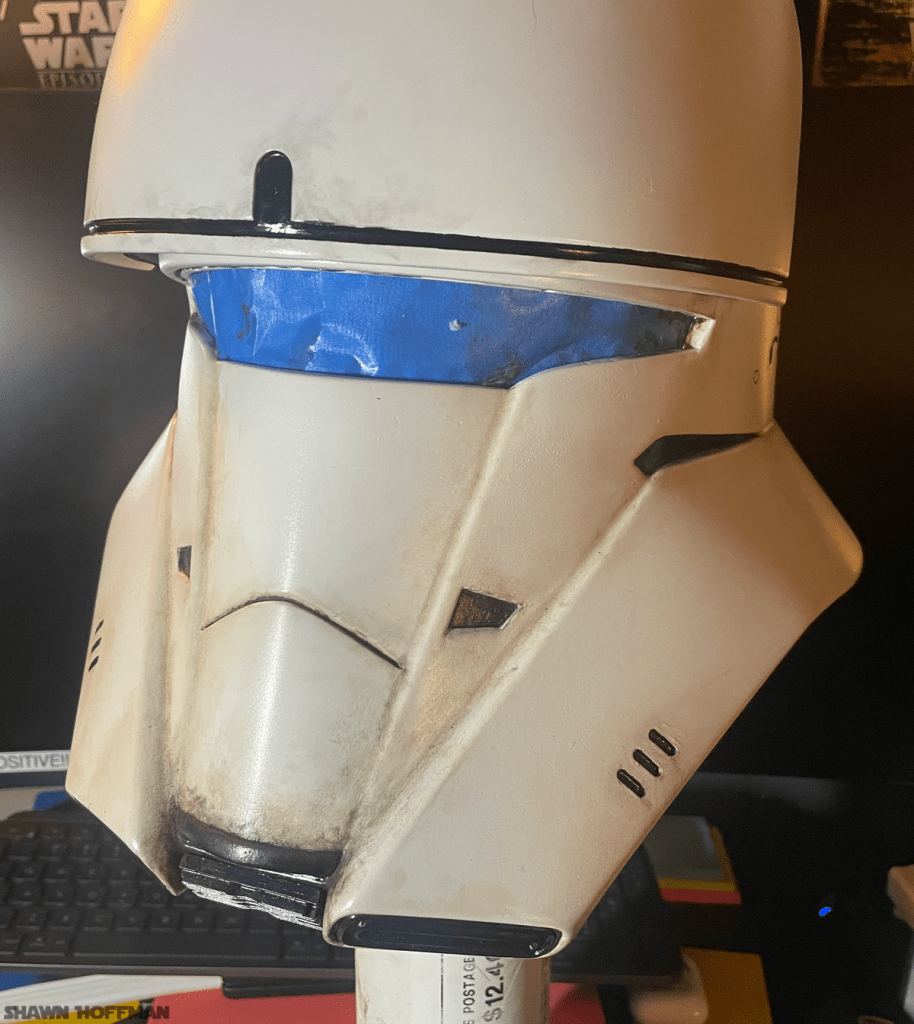
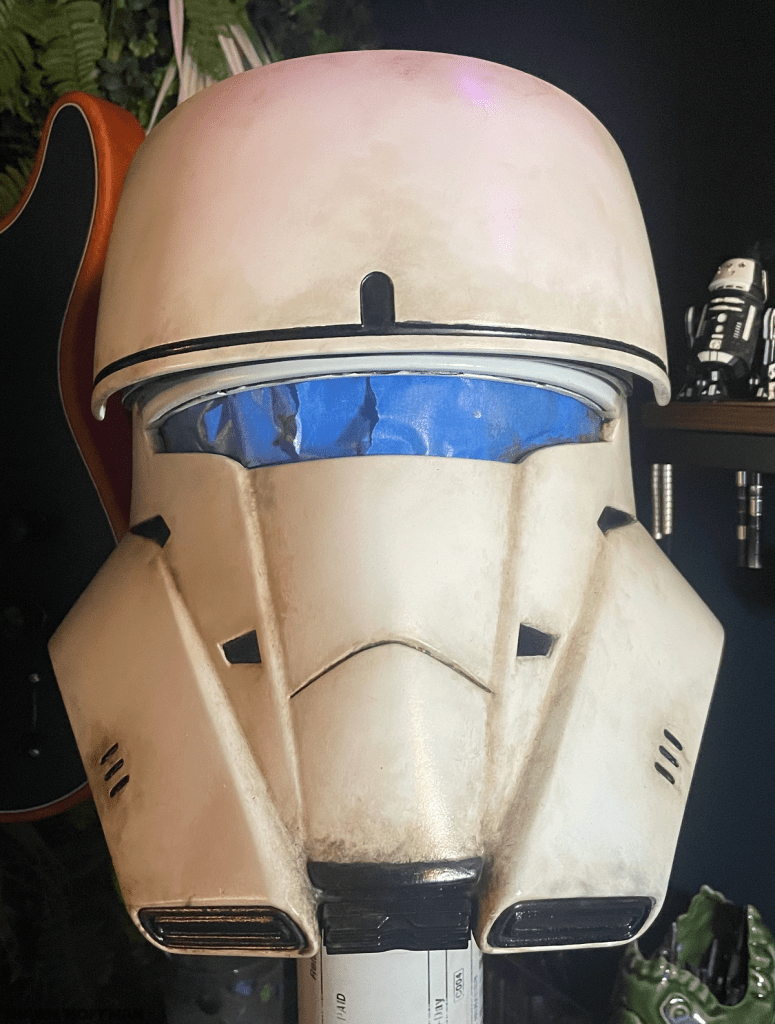
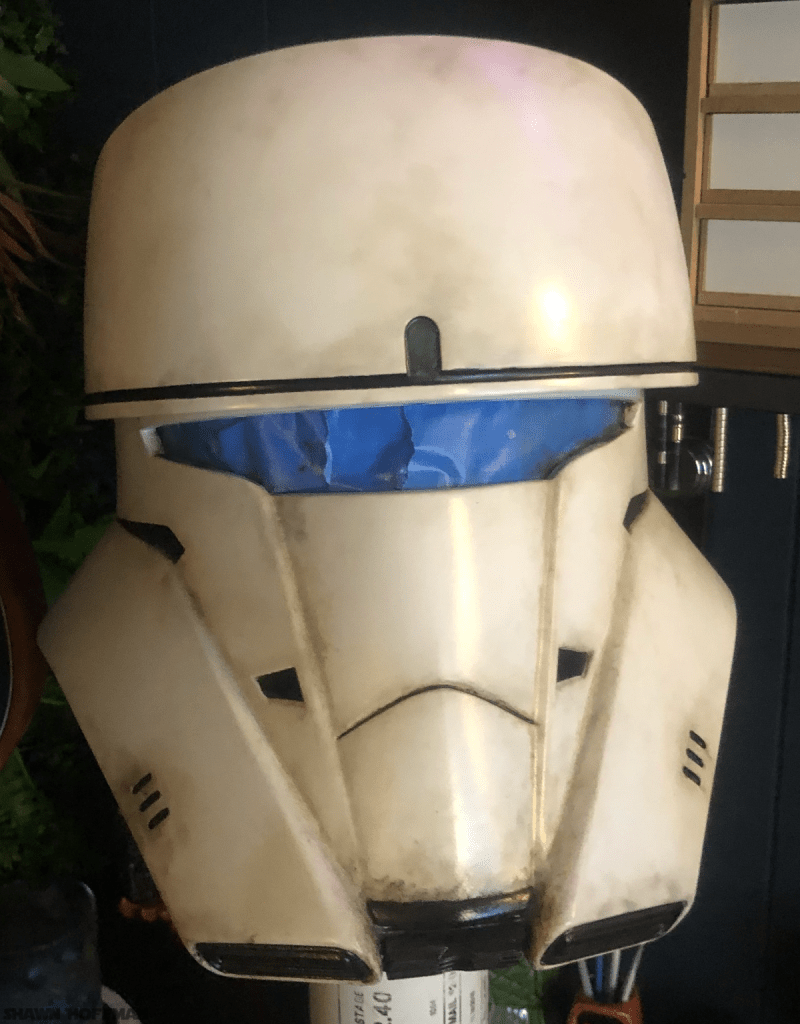
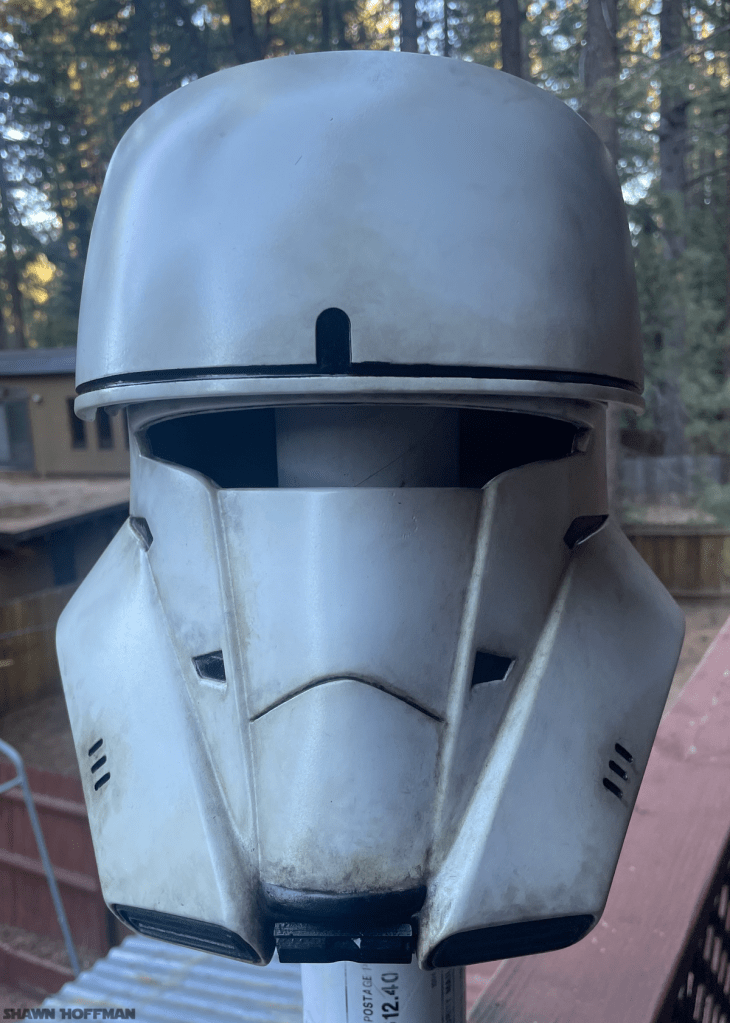
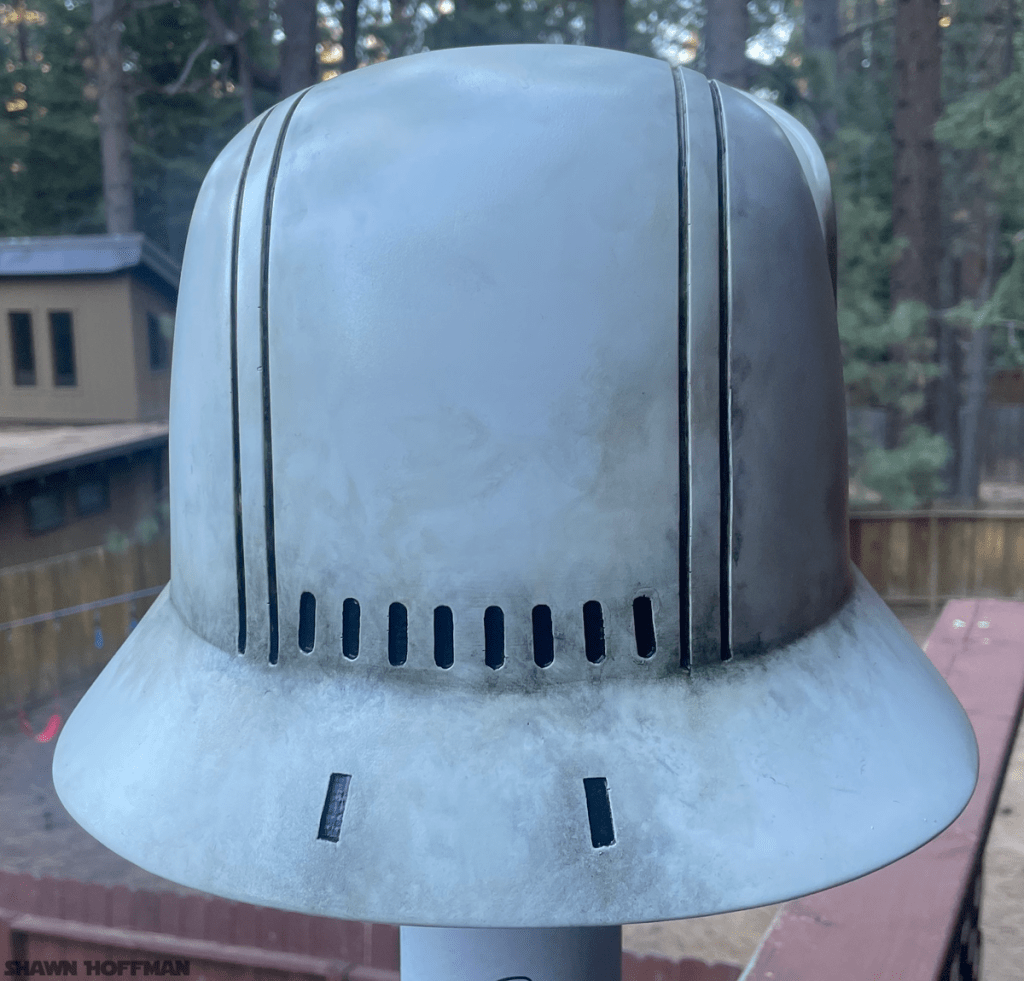
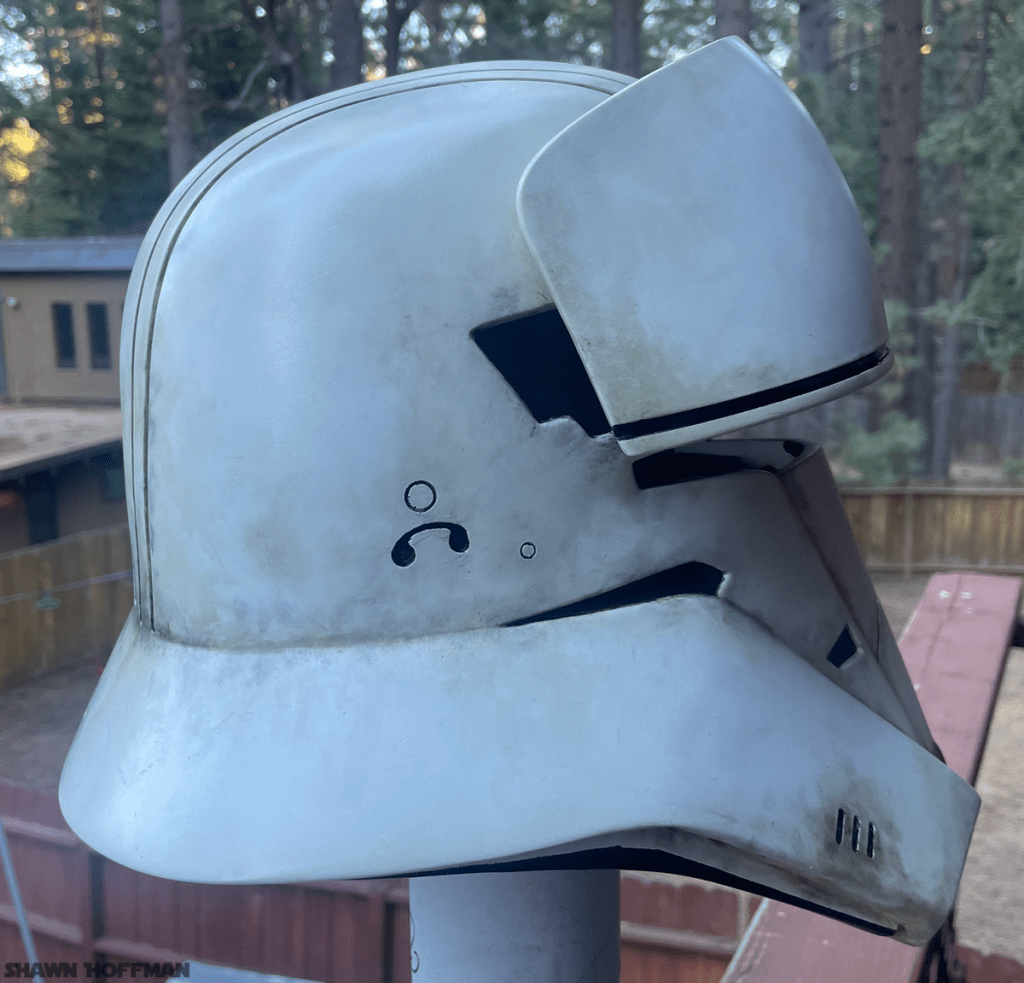
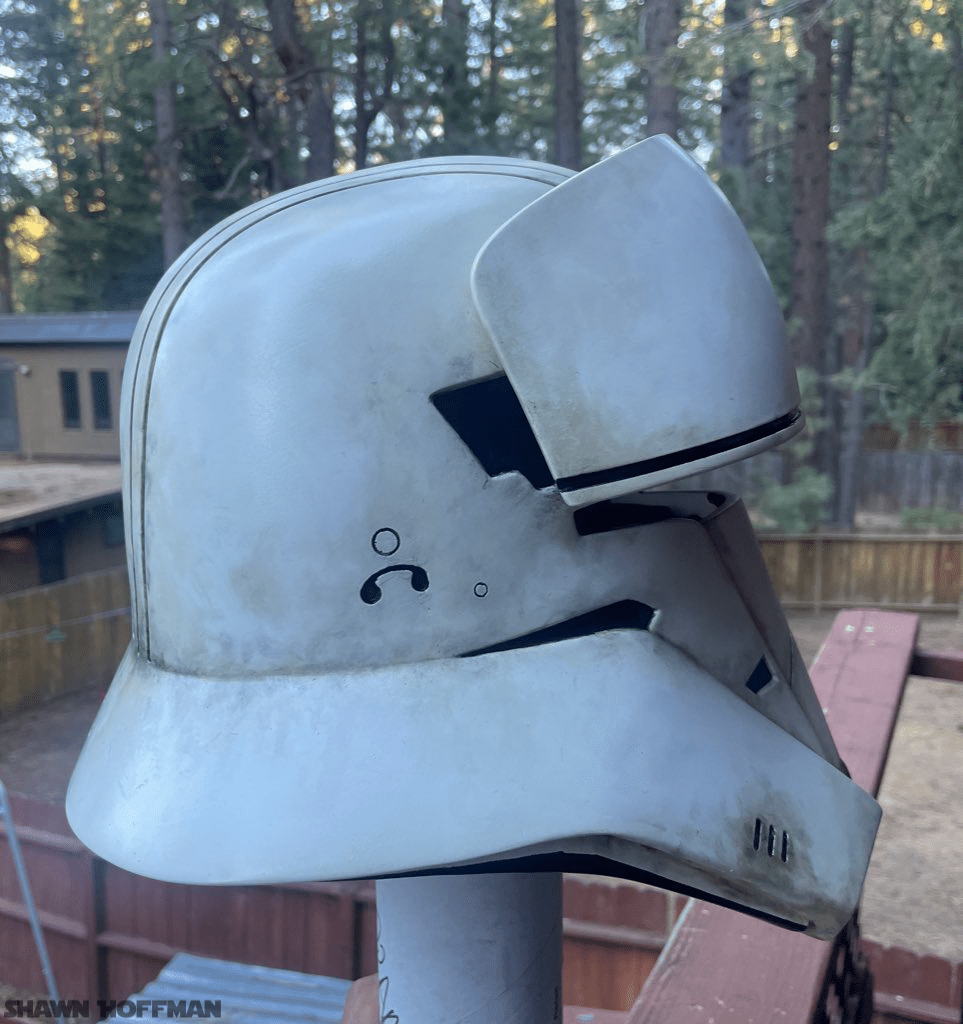
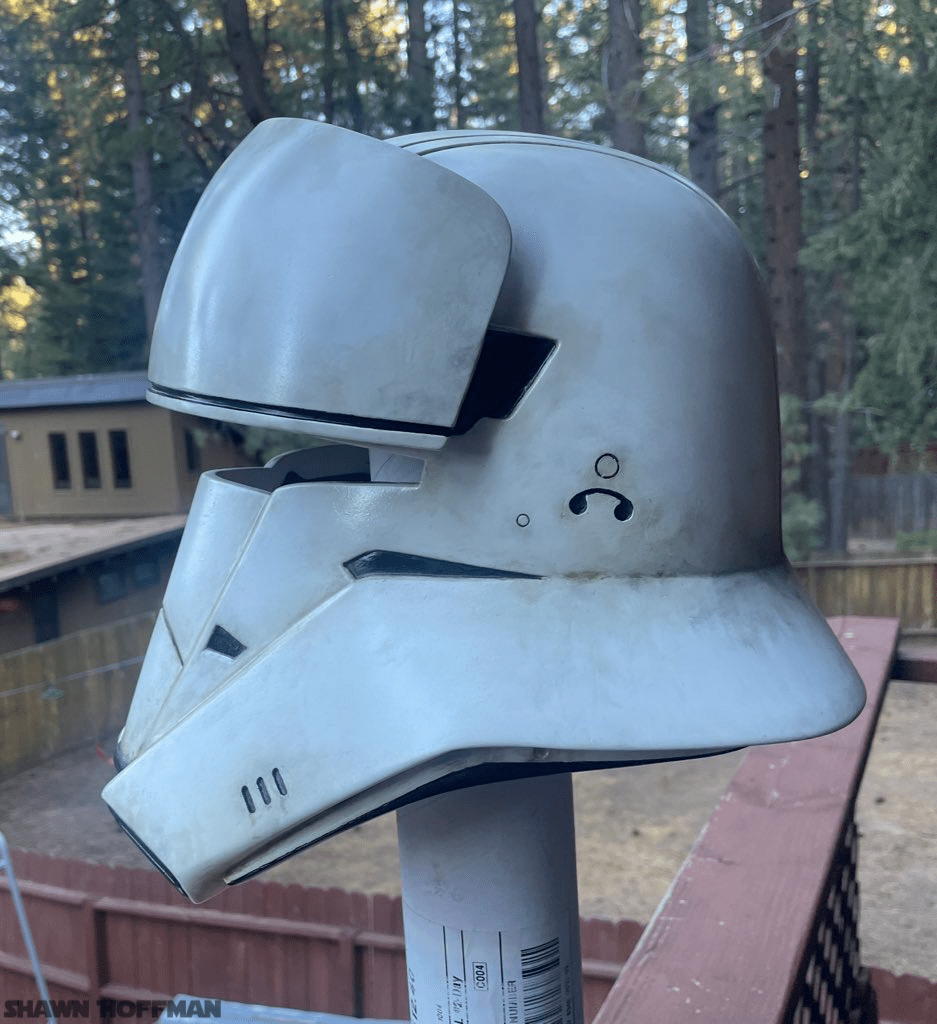
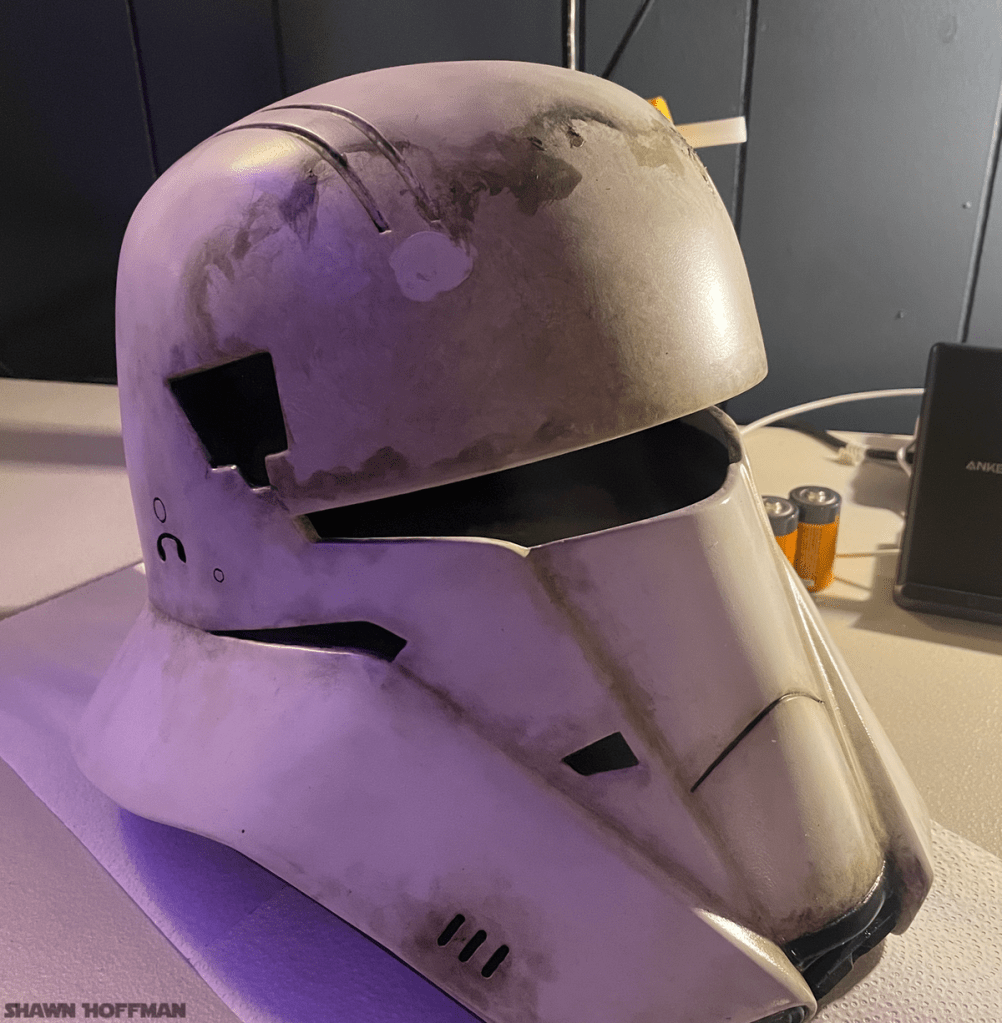
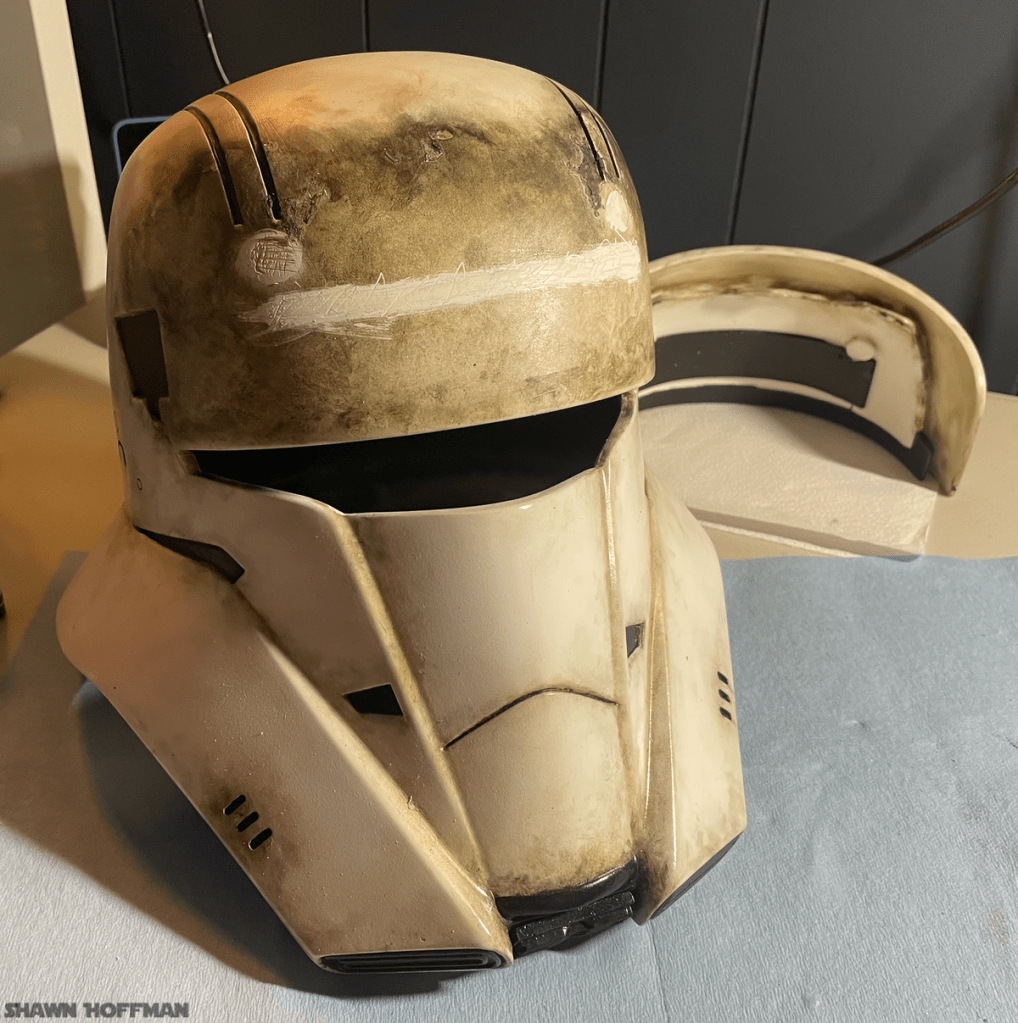
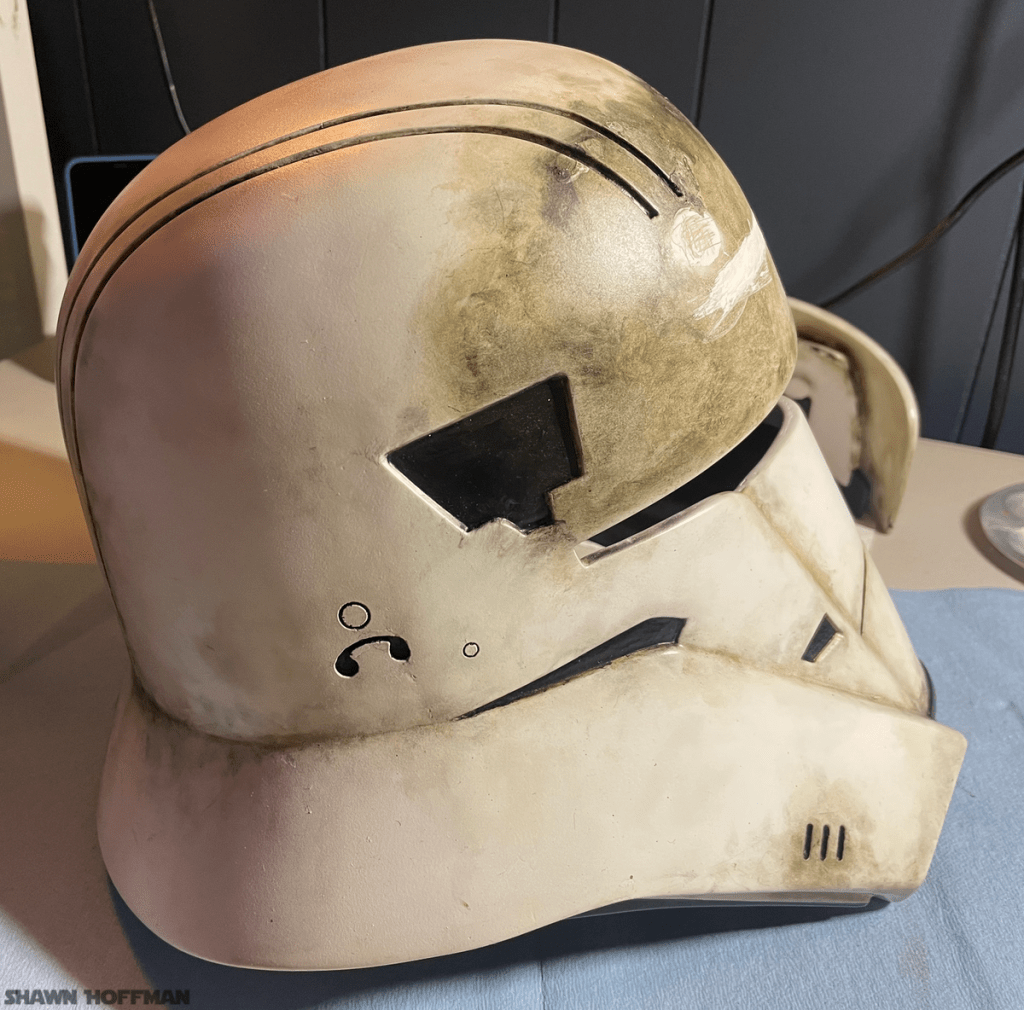
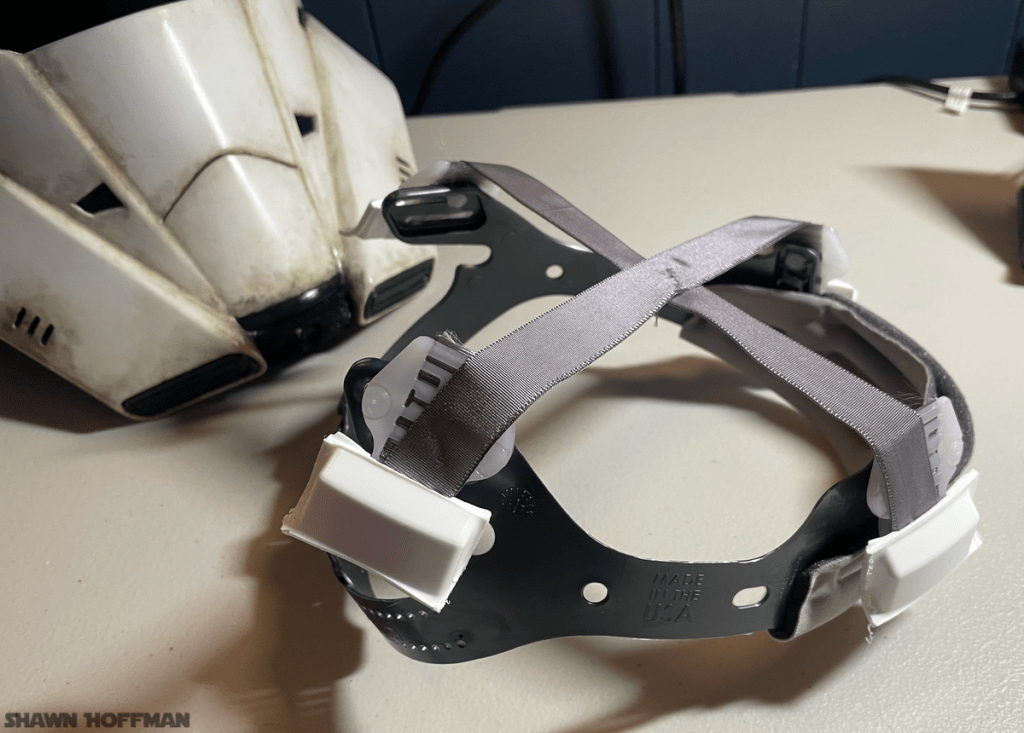
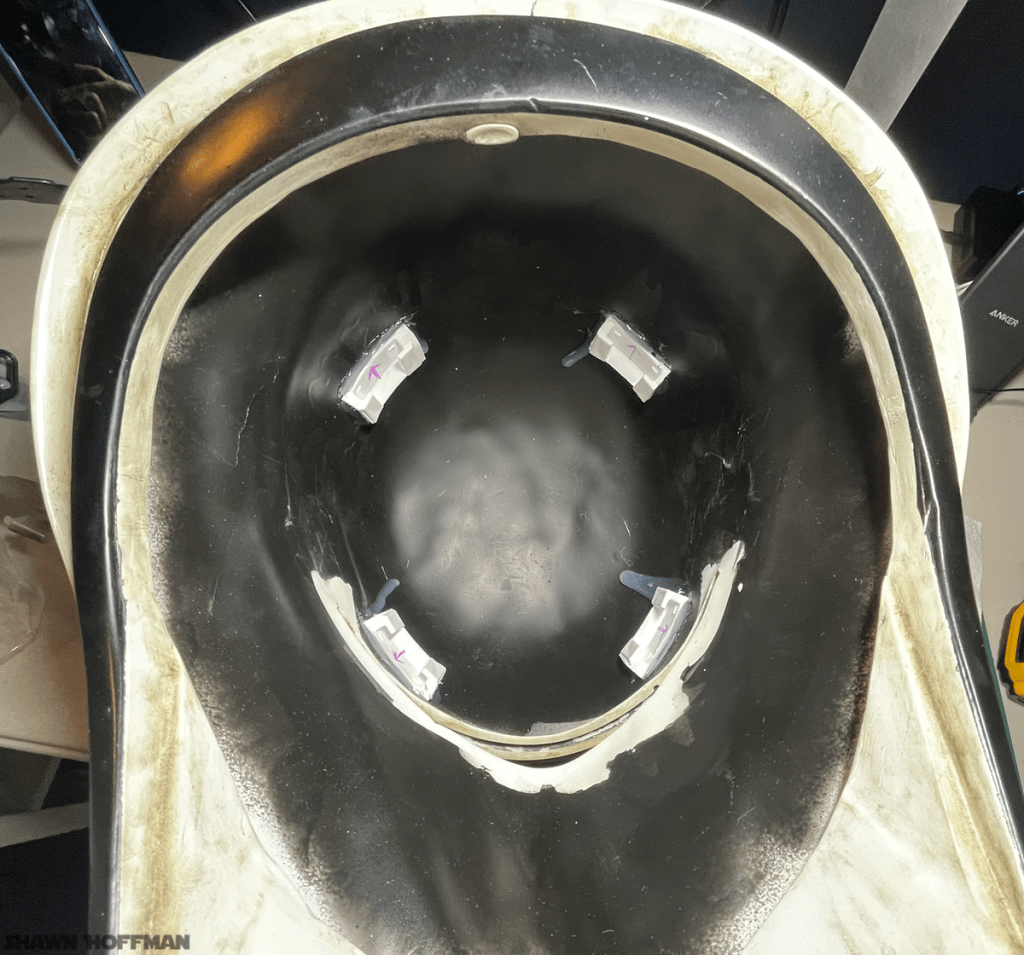
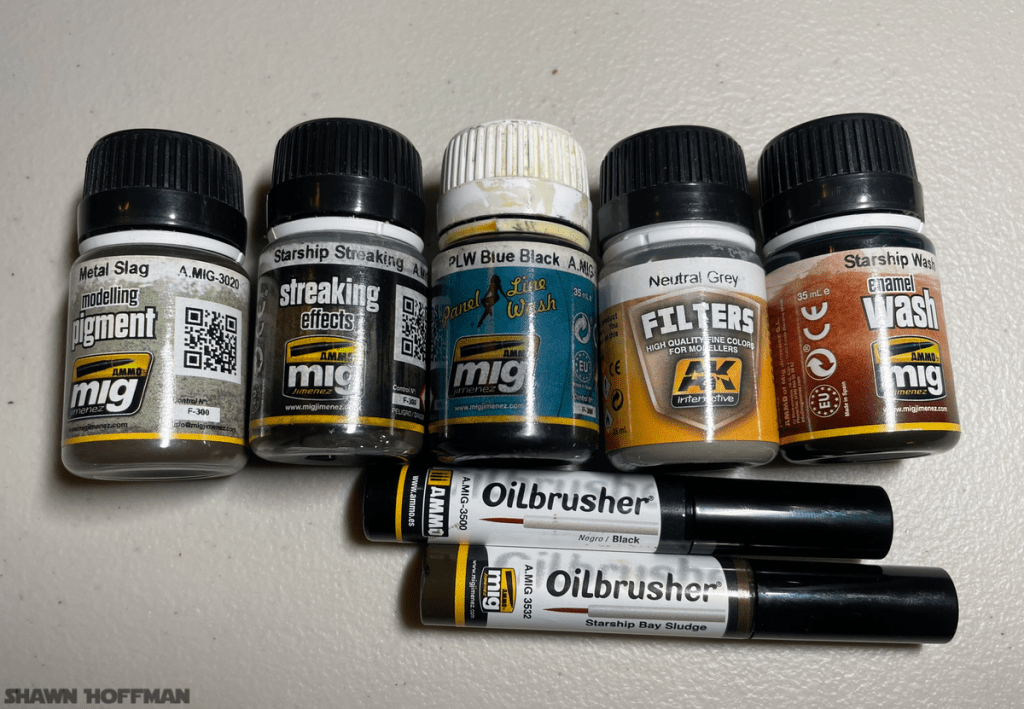
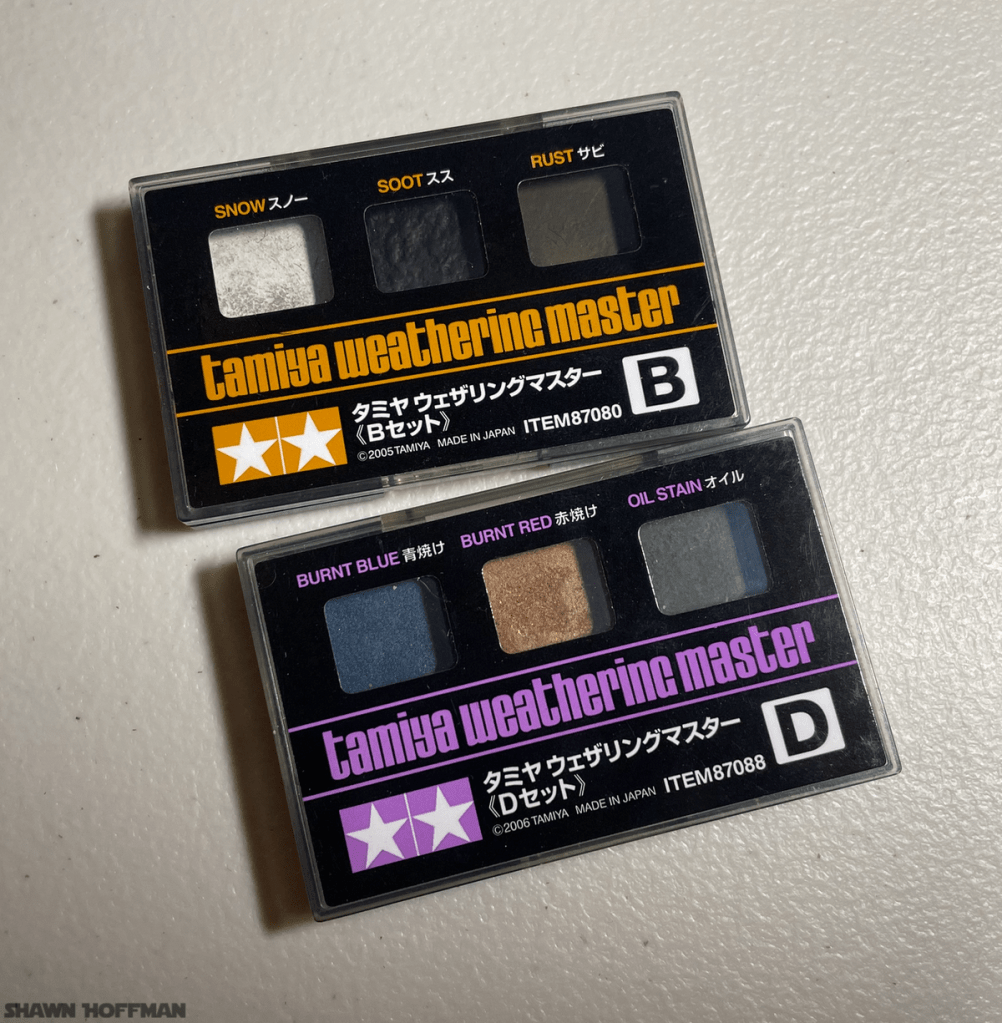
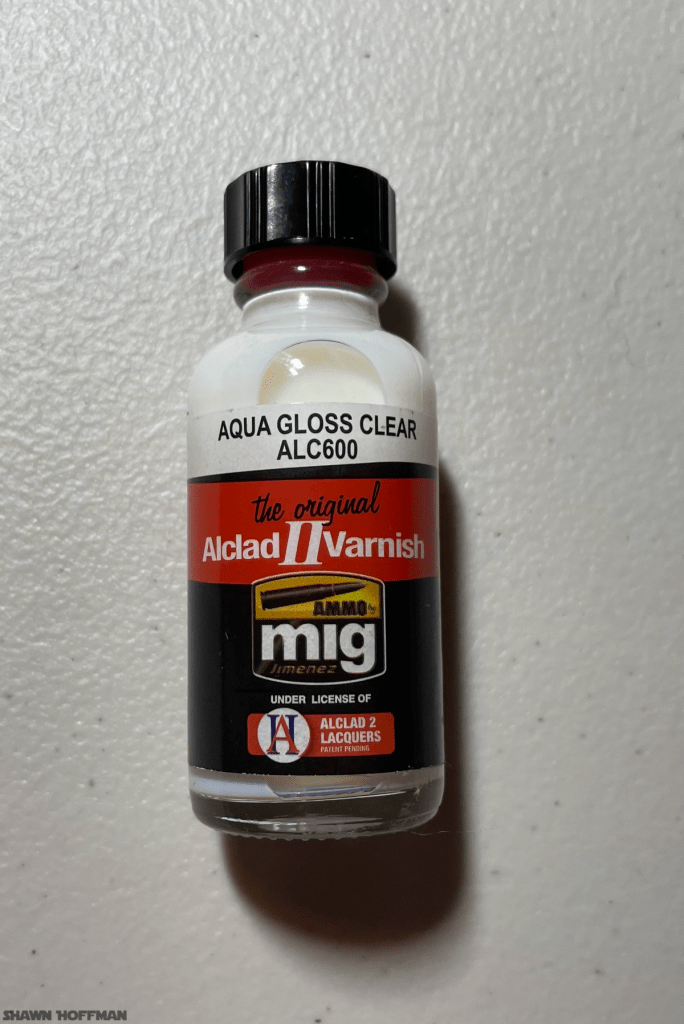
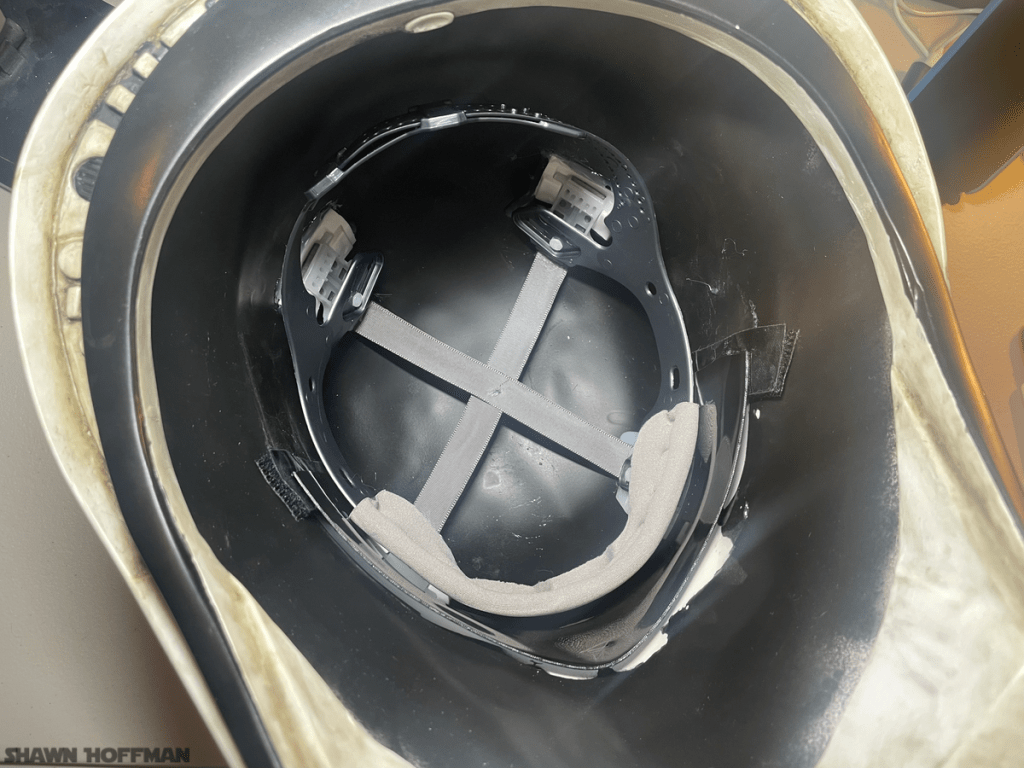
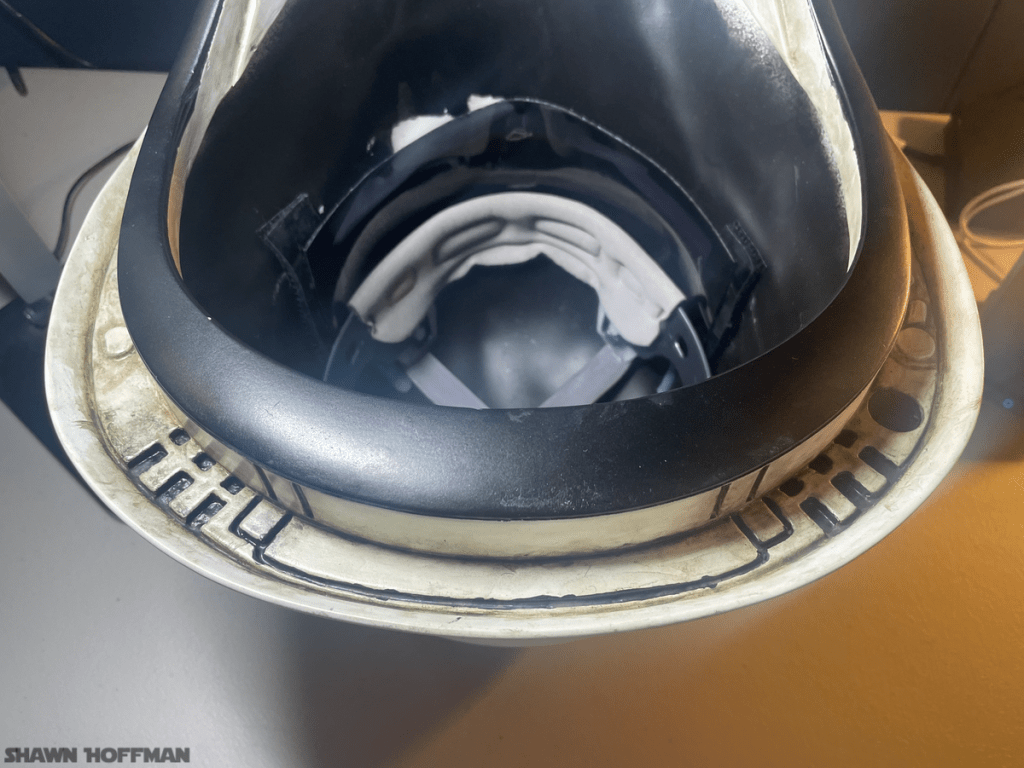
Pressure-fitting the blast shield and horn plateI’ll clean up the inside before putting the liner inTesting various weathering techniques on some scrap materialSome of the materials I used for weathering. I have a lot of this from my scale modeling projects so it works pretty wellTesting some oilbrushers on the undersideBlast shield broke off since the glue was brittle and didn’t have a good seal on the helmetEnhanced the weathering under the blast shield since I have the opportunityBlast shield attached with heavy duty velcroHelmet liner I picked up on EtsyHelmet liner clips hot glued in placePreparing for a final semi-gloss coat to seal in the weatheringI’m a big fan of enamel weathering products since they’re pretty forgiving in regards to application. More of my modeling products that I used to achieve the desired outcome.I used these weathering powders to add some final effects and color variationsI used Alclad gloss clear to seal in the effects. I used an airbrush as to avoid bulking up on a clear coat.
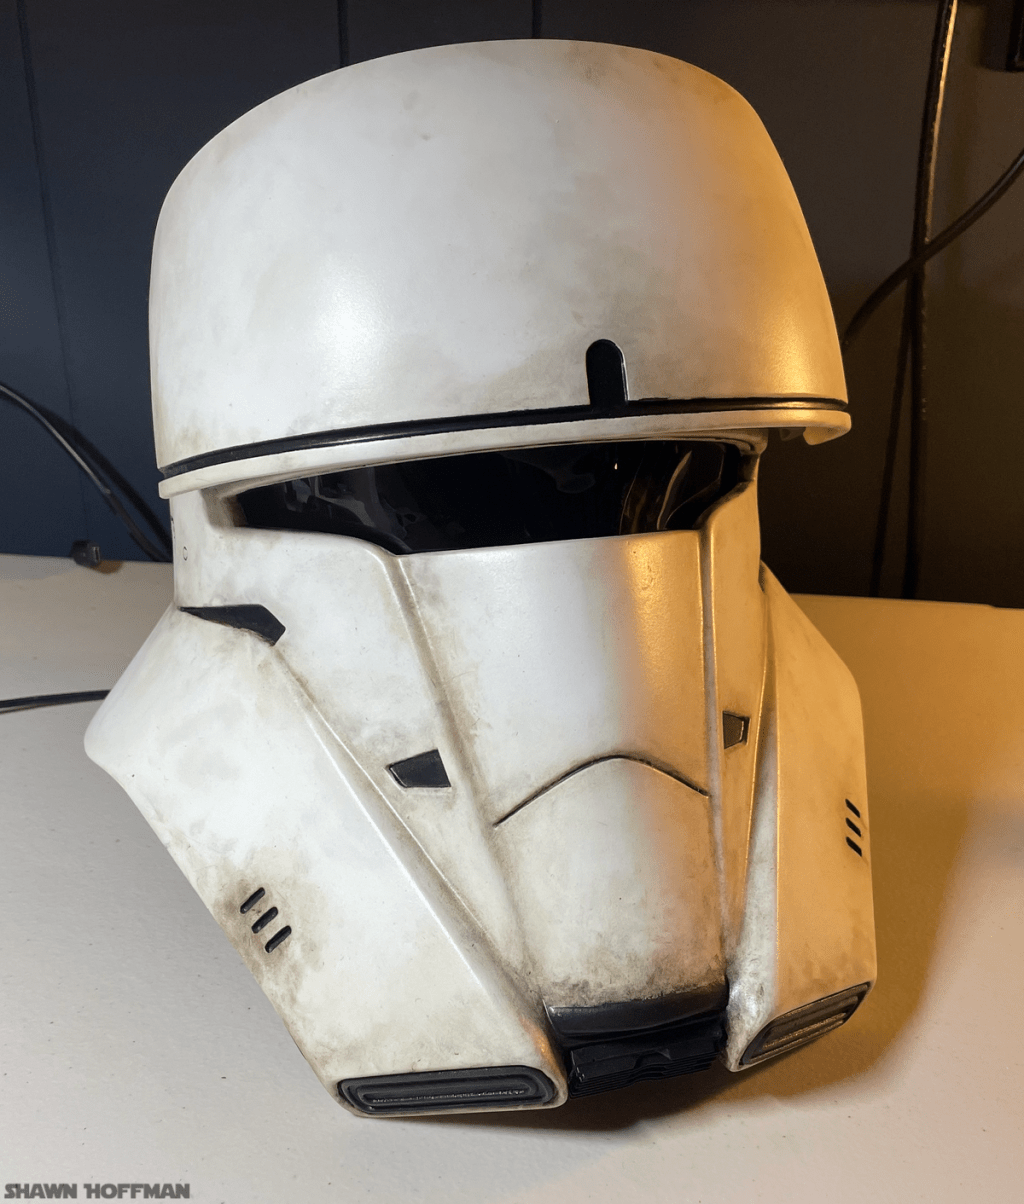
Conclusion
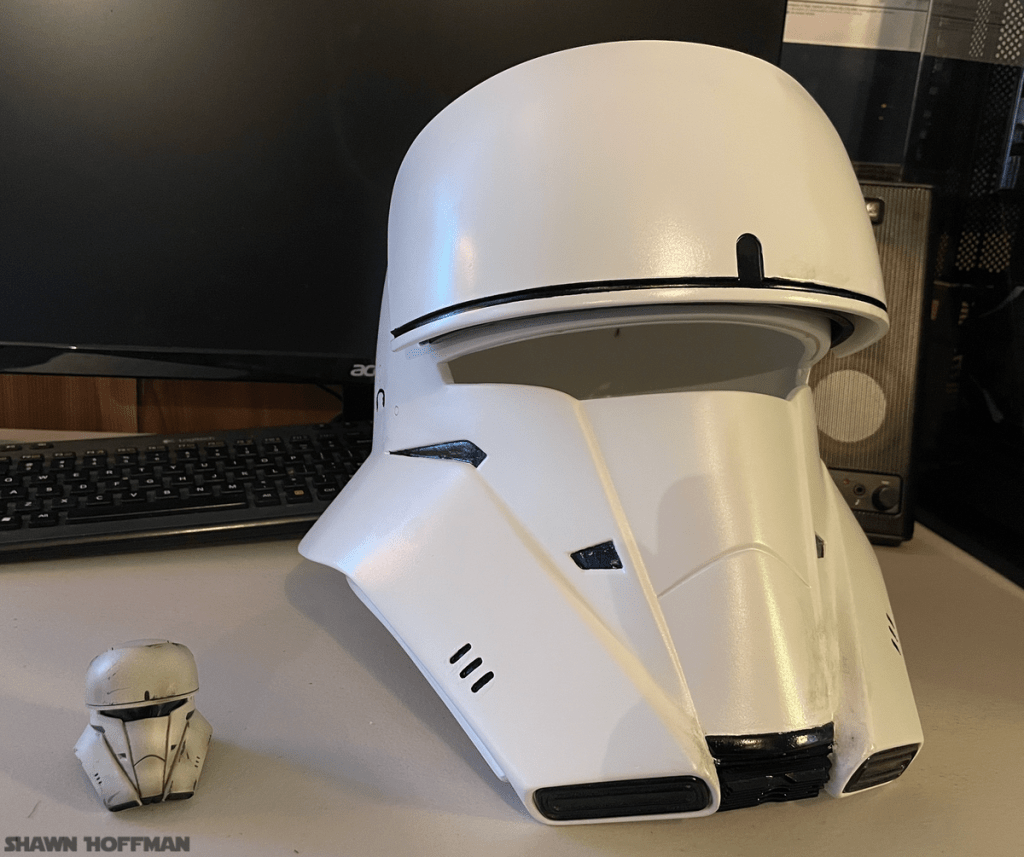
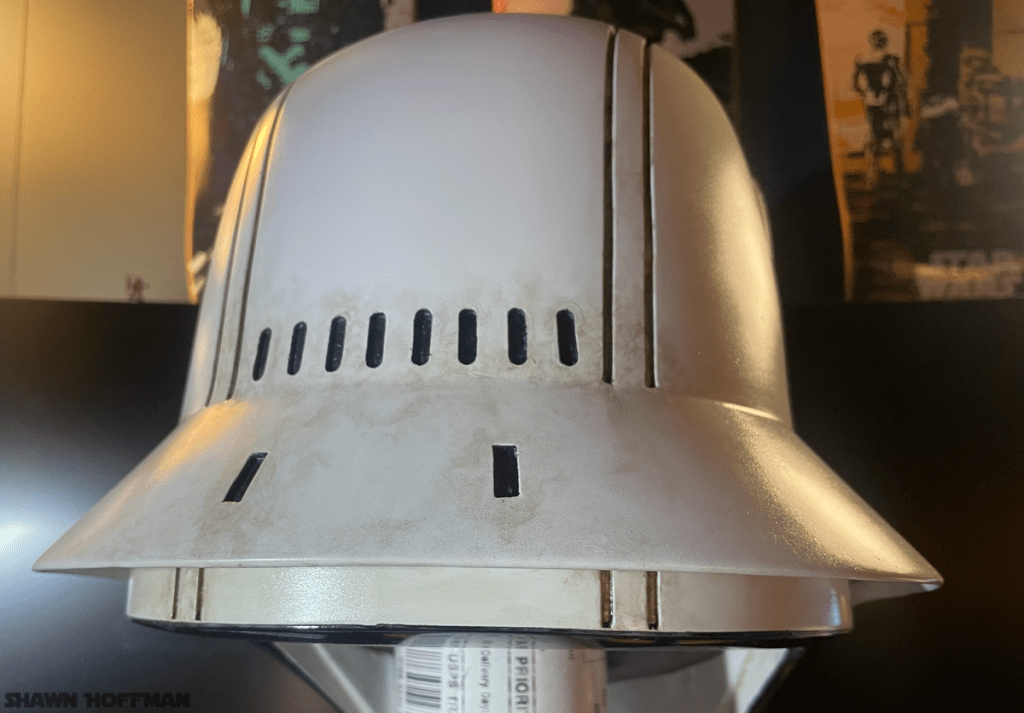
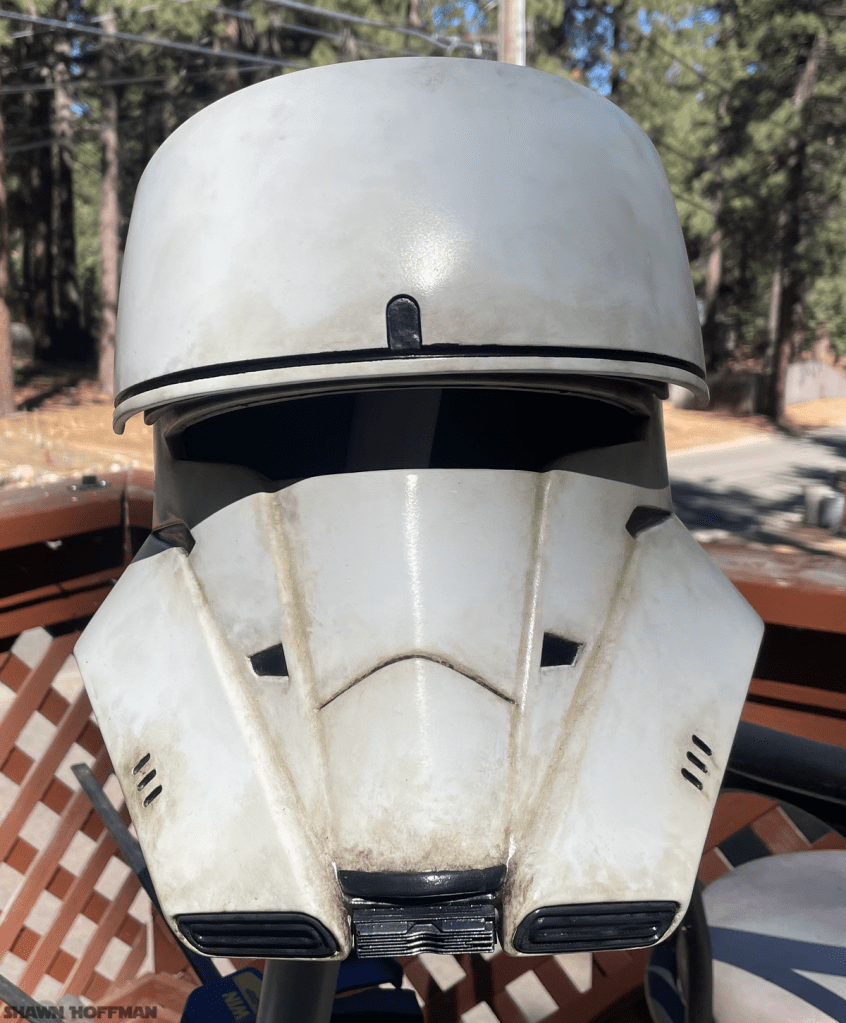
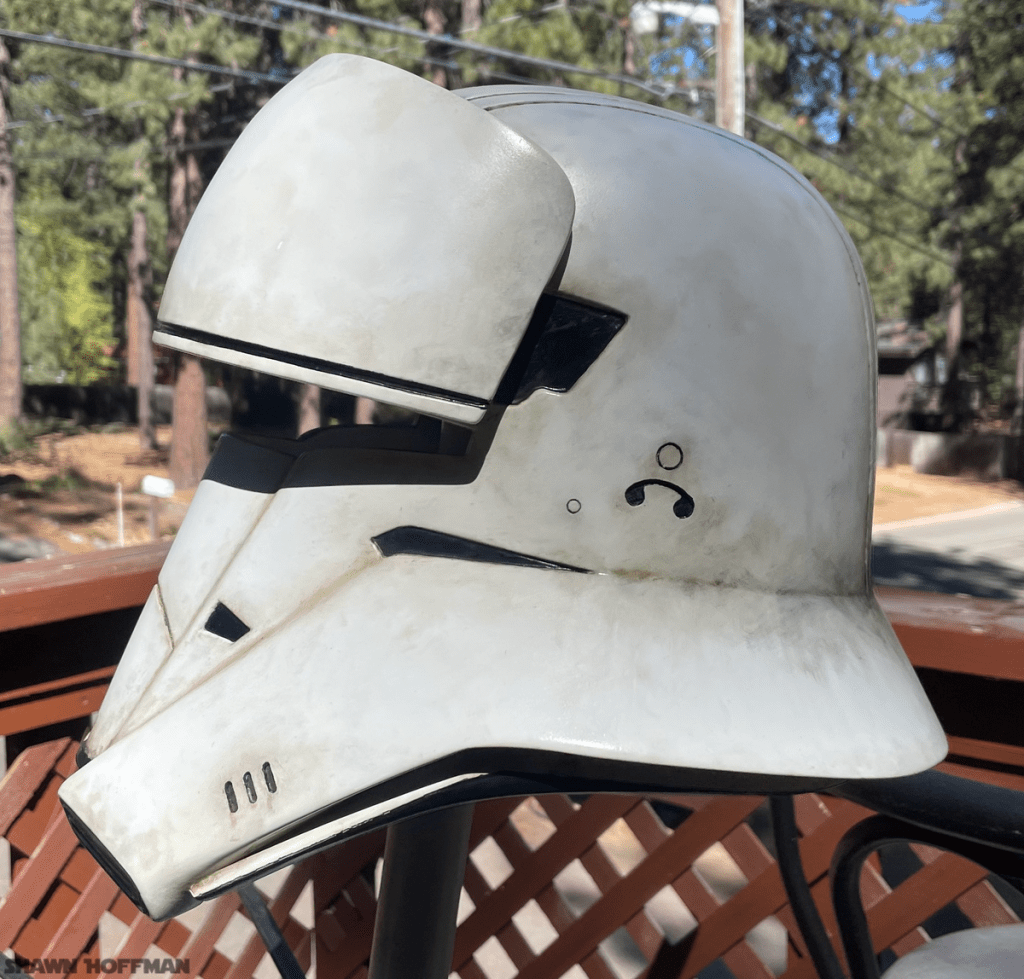
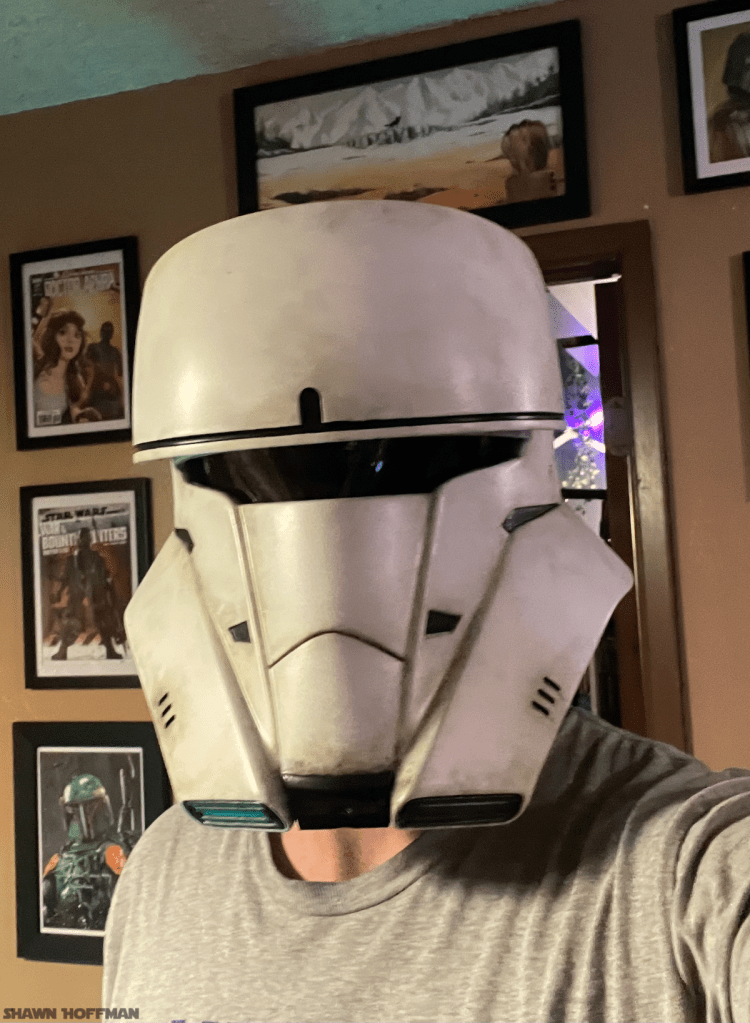
Overall, I’m pretty happy with the outcome. One of the things that surprised me the most is that it looks really messy in person but doesn’t in photos. I’m not sure if I need to go a little harder on the weathering or if it’s just not coming across in the photos. Also, the harness isn’t the most comfortable so I’ll probably add some foam to it at some point. I feel like I learned a lot and look forward to getting feedback on it before I move onto the next project.
I velcroed the visor in to make it easier to work with. Originally, I was going to use hot glue but was afraid of it warping the plastic and ruining it. Velcro was the interim solution but I actually like how it turned out.


Leave a comment